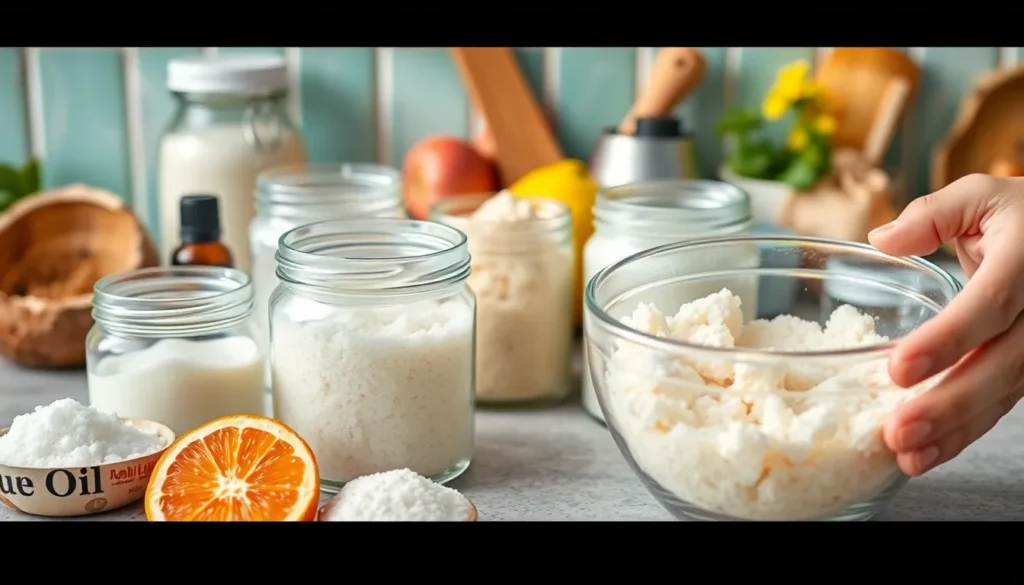
Nothing beats the silky smooth feeling of freshly exfoliated skin – and we’re about to share the secret to achieving that spa-quality glow right from your kitchen. Sugar scrubs have been beauty’s best-kept secret for centuries, transforming rough patches into baby-soft skin with just a few simple ingredients you probably already have at home.
We’ve discovered that homemade sugar scrubs aren’t just more affordable than their store-bought counterparts – they’re actually more effective. When you control the ingredients, you can customize every blend to target your exact skin needs, whether that’s tackling stubborn dry elbows or creating an energizing morning routine.
The magic happens when sugar’s natural exfoliating properties team up with nourishing oils to buff away dead skin cells while deeply moisturizing. Get ready to ditch those expensive spa treatments and create your own luxurious scrubs that’ll leave your skin glowing and irresistibly smooth.
Basic Sugar Scrub Recipe
This foundational recipe forms the perfect base for creating your own luxurious sugar scrub at home. We’ll show you how to combine just a few simple ingredients to achieve professional-quality results that leave your skin feeling incredibly soft and smooth.
Ingredients
- 1 cup granulated white sugar
- 1/2 cup coconut oil (melted but not hot)
- 1 tablespoon honey
- 1 teaspoon vanilla extract
- 2-3 drops essential oil of choice (optional)
Instructions
Step 1: Pour the granulated sugar into a large mixing bowl and set aside.
Step 2: Measure the coconut oil and gently warm it until it reaches a liquid consistency without making it hot to the touch.
Step 3: Add the melted coconut oil to the sugar and stir thoroughly until the mixture resembles wet sand.
Step 4: Drizzle in the honey and vanilla extract while continuing to mix the ingredients together.
Step 5: Incorporate your chosen essential oil drops if desired and blend everything until the scrub holds together when pressed.
Step 6: Transfer the finished scrub to an airtight container and store it in a cool dry place for up to 3 months.
Step 7: Apply the scrub to damp skin using gentle circular motions and rinse thoroughly with warm water after exfoliating.
Brown Sugar Body Scrub
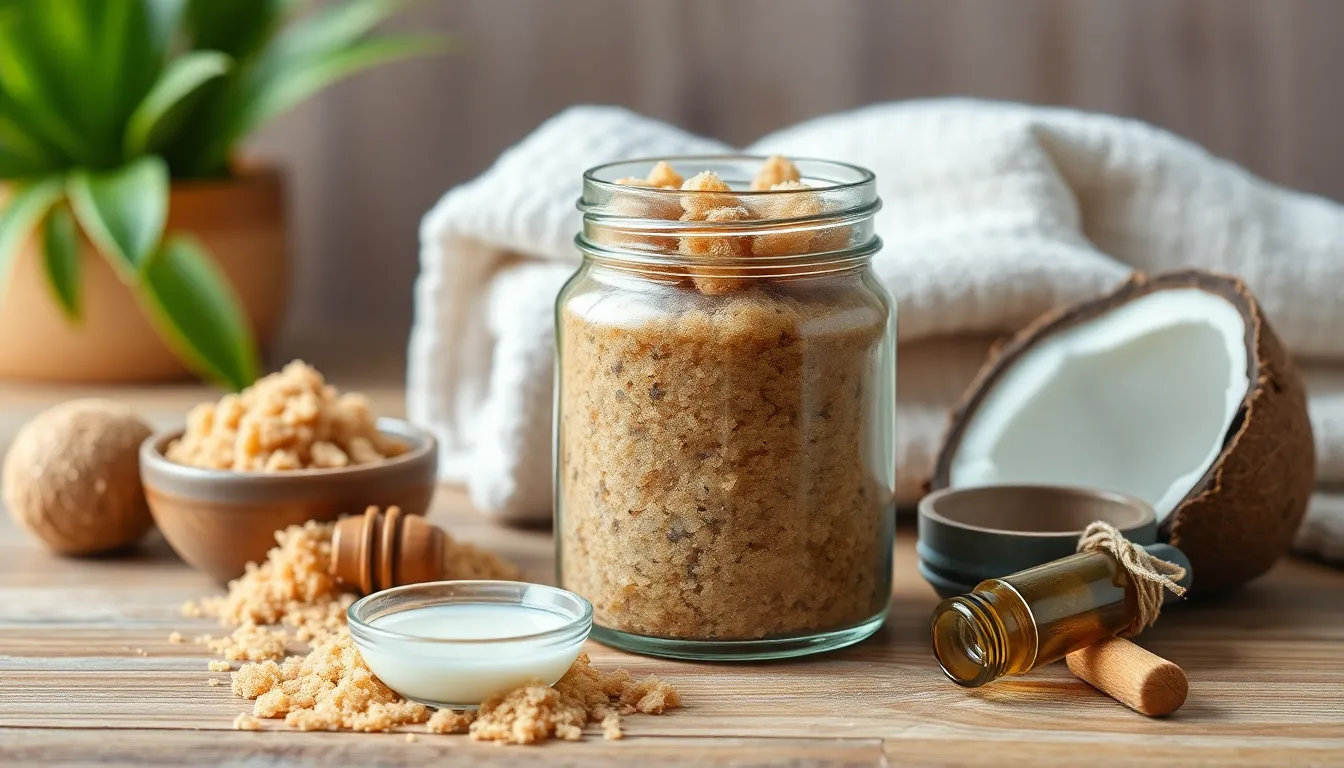
Brown sugar creates an exceptionally gentle yet effective exfoliating experience that works beautifully for sensitive skin types. We love this recipe because it combines the moisturizing properties of natural oils with the mild abrasive action of brown sugar crystals.
Ingredients
- 1–2 cups brown sugar (light or dark, packed)
- ½–1 cup coconut oil (solid at room temperature) or substitute with olive oil, almond oil, jojoba oil, or avocado oil
- 1 tablespoon vanilla extract (optional for fragrance)
- Essential oils like lavender or citrus (optional, just a few drops)
Directions
Step 1: Prepare Your Workspace
Gather all ingredients and have a clean mixing bowl ready. Measure out your brown sugar and coconut oil according to your preferred consistency.
Step 2: Combine Base Ingredients
Add the brown sugar to your mixing bowl first. Pour in the coconut oil gradually while stirring with a spoon. The mixture should hold together when pressed but remain spreadable.
Step 3: Add Aromatics
Incorporate vanilla extract if desired for a warm, comforting scent. Mix thoroughly until no dry sugar particles remain visible.
Step 4: Adjust Consistency
Fine tune the texture by adding more brown sugar for thickness or more oil for a smoother blend. We recommend achieving a consistency that spreads easily without being runny.
Step 5: Store Properly
Transfer your finished scrub into a clean, airtight container. Glass or plastic jars work well, though plastic containers reduce the risk of bathroom breakage.
Step 6: Application Method
Scoop a small amount onto damp skin and massage gently using circular motions. Focus on rough areas like elbows and knees while avoiding sensitive zones or any broken skin. Rinse thoroughly with warm water when finished.
| Storage Information | Details |
|---|---|
| Storage Location | Cool, dry place |
| Container Type | Airtight glass or plastic jar |
| Shelf Life | Several weeks to few months |
| Usage Frequency | 2-3 times per week |
Coconut Oil Sugar Scrub
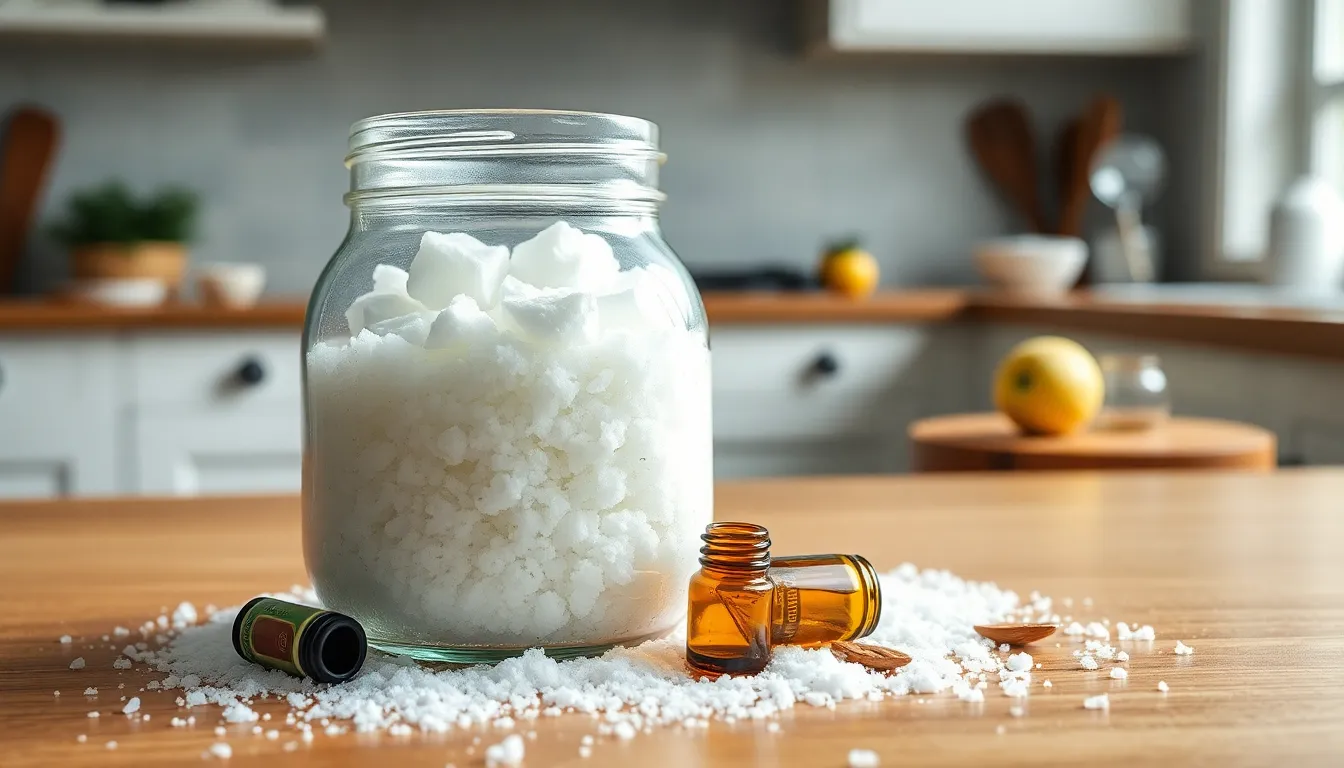
This luxurious coconut oil sugar scrub delivers exceptional exfoliation while deeply moisturizing your skin with natural ingredients. We’ll show you how to create this spa-quality treatment using simple pantry staples.
Ingredients
- 1/4 to 1/2 cup granulated or brown sugar (adjust quantity based on desired texture – less for fine scrub, more for coarse exfoliation)
- 1/2 cup solid coconut oil
- 1-2 drops essential oil or vanilla extract (optional, for fragrance)
- Vitamin E oil (optional, for added moisture and skin benefits)
Prep Steps
Begin by placing your solid coconut oil in a microwave-safe dish. Heat the oil for 10 to 45 seconds until it reaches a melted but not hot consistency. Allow the melted coconut oil to cool slightly while you measure out your sugar. This cooling step prevents the oil from being too warm when mixed with other ingredients.
Mixing Instructions
Combine the sugar and slightly cooled melted coconut oil in a mixing bowl. Stir the mixture thoroughly using a spoon or your hands until it reaches a texture similar to loose cookie dough or beach sand. Add your chosen essential oil or vitamin E oil drops if desired and mix completely to distribute the fragrance and beneficial properties throughout the scrub.
Store your finished coconut oil sugar scrub in an airtight container such as a mason jar. Apply the scrub to damp skin using gentle circular motions then rinse with warm water for silky smooth results. Remember to stir the mixture before each use to redistribute the natural oils.
Coffee Sugar Scrub Recipe
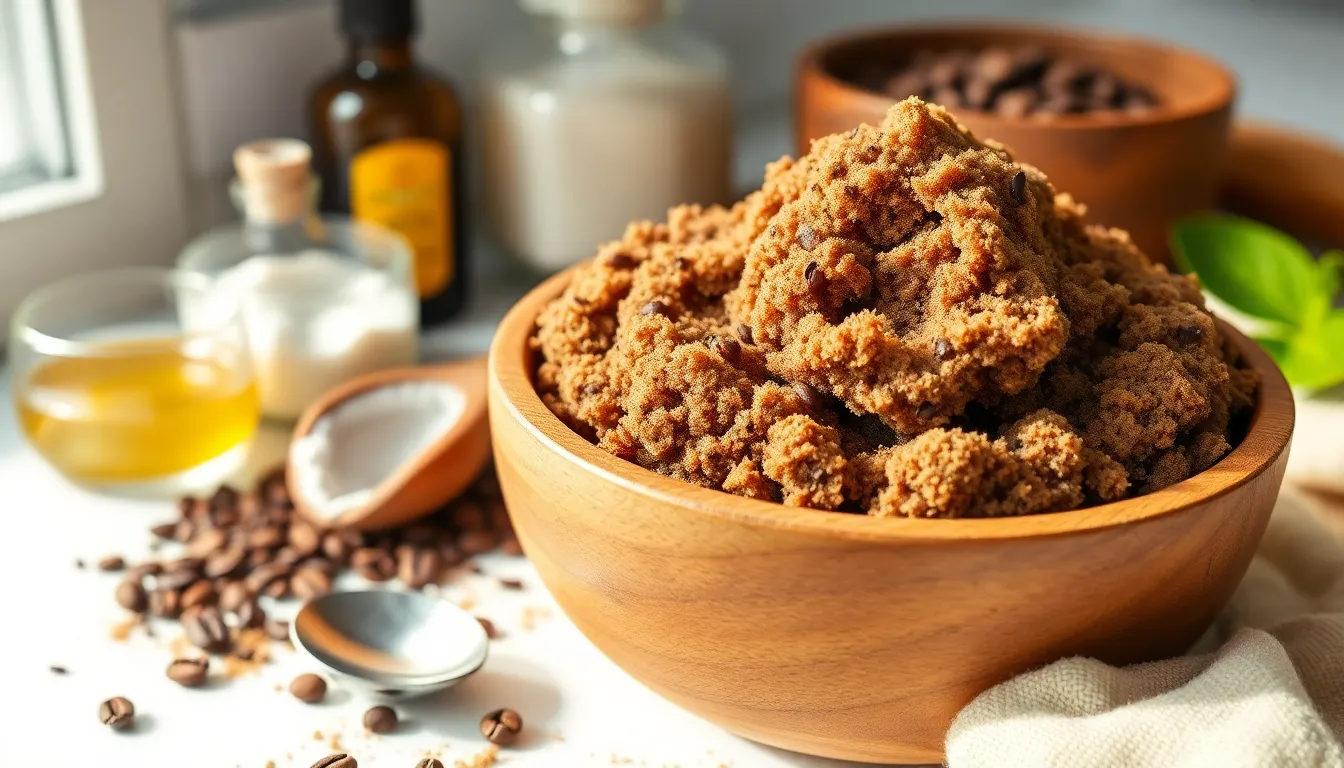
Coffee grounds transform ordinary sugar scrubs into powerful exfoliating treatments that deliver antioxidants while smoothing away dead skin cells. This energizing blend combines the gritty texture of coffee with sugar’s gentle abrasion to create a spa-quality scrub that reduces inflammation and puffiness.
Ingredients
- 1 cup brown sugar (white sugar or turbinado sugar work as alternatives)
- ½ cup coffee grounds (finely ground or used coffee grounds)
- 2 ounces coconut oil (olive oil, avocado oil, grapeseed oil, or sweet almond oil as substitutes)
- 1 teaspoon vanilla extract or vanilla bean seeds (optional for fragrance)
- 1–2 tablespoons coarse salt (optional for extra exfoliation)
Assembly Directions
Step 1: Mix the brown sugar and coffee grounds thoroughly in a large bowl until evenly distributed.
Step 2: Warm the coconut oil slightly if solid to achieve a liquid consistency without making it hot. Gradually stir the oil into the sugar and coffee mixture until all ingredients are evenly moistened and combined.
Step 3: Add vanilla extract or vanilla bean seeds if desired for a pleasant aromatic experience.
Step 4: Beat the mixture briefly with a handheld mixer while the oil is cooling but still liquid for a whipped texture (optional step).
Step 5: Transfer the completed scrub to an airtight container or jar for storage. The scrub maintains its effectiveness for up to 2 months when properly stored.
Step 6: Apply gently to damp skin using circular motions to exfoliate and moisturize before rinsing thoroughly with warm water.
Vanilla Sugar Scrub
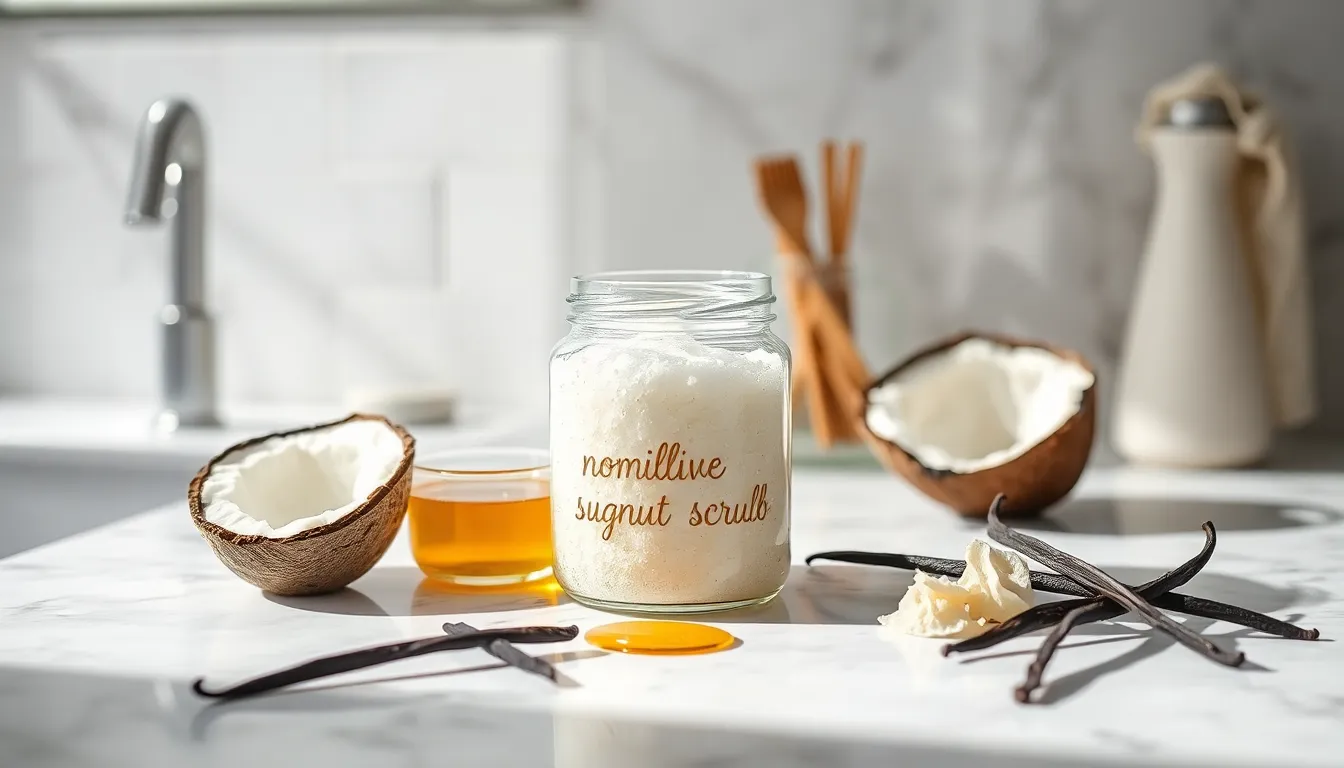
Our vanilla sugar scrub delivers the ultimate spa-like experience with its warm, comforting fragrance that transforms your daily skincare routine. This luxurious blend combines gentle exfoliation with deep moisturization for irresistibly smooth skin.
Ingredients
- 1 cup granulated sugar (or mix with brown sugar for varied texture)
- 1/2 cup coconut oil or olive oil
- 2 teaspoons pure vanilla extract or vanilla bean caviar
- 2 tablespoons honey (optional, for extra moisturizing)
- 1/2 teaspoon ground cinnamon (optional)
- 1/4 teaspoon ground nutmeg (optional)
Instructions
Mix the base ingredients by combining sugar and oil in a large mixing bowl. Stir thoroughly until the mixture reaches a paste-like consistency that holds together without being too wet or dry.
Incorporate the vanilla by adding vanilla extract or vanilla bean caviar to the sugar and oil mixture. Blend well to distribute the fragrance evenly throughout the scrub.
Add optional ingredients such as honey for enhanced moisturizing properties or warming spices like cinnamon and nutmeg for aromatic benefits. Mix until all components are fully incorporated.
Adjust the texture by adding more sugar for a grainier scrub or additional oil for a smoother consistency based on your preference. The ideal texture should feel slightly gritty but not overly abrasive.
Transfer to storage by spooning the finished scrub into a clean, airtight container or mason jar. Seal tightly to maintain freshness and prevent moisture from affecting the mixture.
Apply during use by warming a small amount in your hands and gently massaging onto damp skin using circular motions. Rinse thoroughly with warm water and pat skin dry to reveal soft, glowing results.
Citrus Sugar Scrub Variations
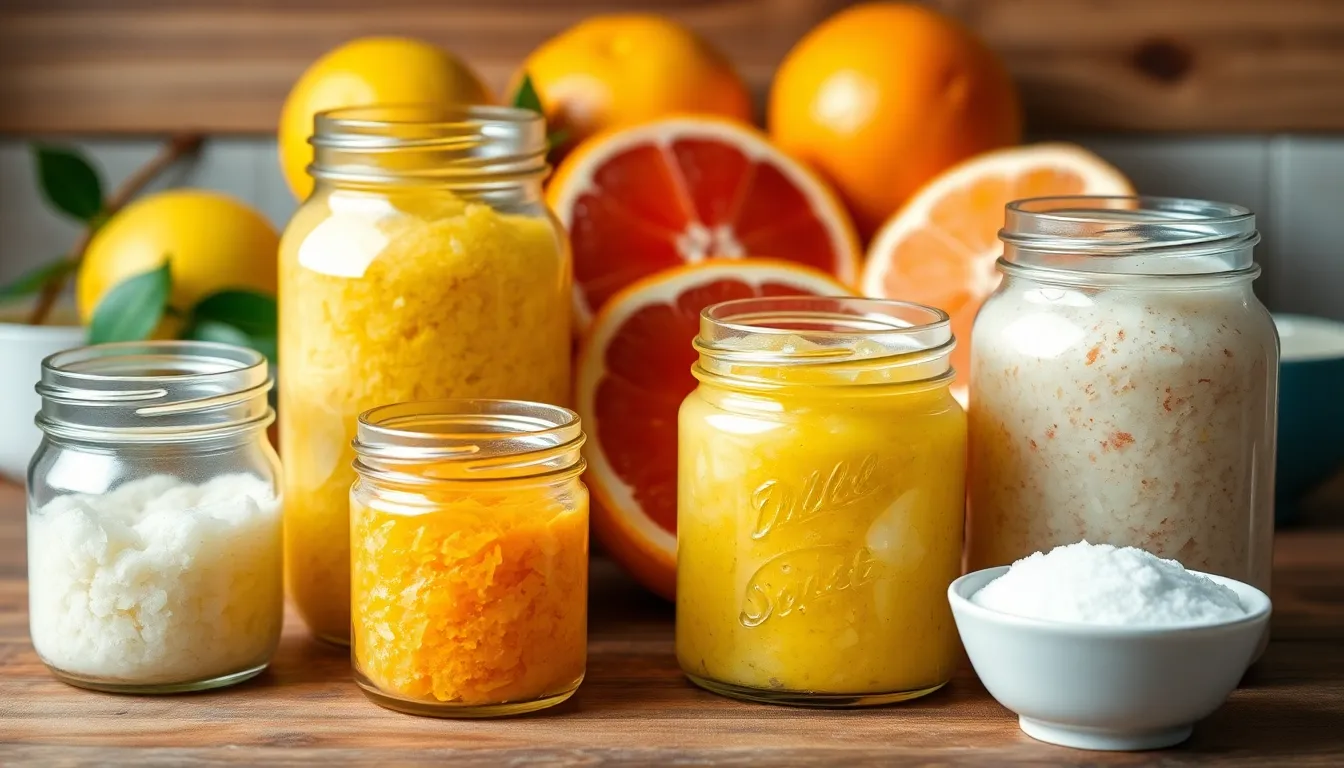
Citrus sugar scrubs bring an invigorating twist to our homemade skincare routine. These bright and refreshing blends harness the natural exfoliating power of sugar while delivering the skin-brightening benefits of lemon, orange, and grapefruit.
Lemon Sugar Scrub
We love this lemon sugar scrub for its impressive skin benefits and versatility. Lemon naturally tightens pores and evens skin tone while reducing inflammation through its powerful astringent properties. The citrus contains antioxidants that provide antibacterial protection and help treat acne while stimulating circulation to promote collagen production.
Ingredients:
- 2 cups white sugar
- ½ cup refined coconut oil
- 2 tablespoons fractionated coconut oil
- 40 drops lemon essential oil
- 1-2 drops yellow gel food coloring (optional)
Instructions:
- Combine all ingredients in a large mixing bowl
- Blend thoroughly until the mixture reaches a consistent texture
- Transfer to clean jars with tight-fitting lids for storage
This scrub gently exfoliates while moisturizing and helps boost a fresh, radiant complexion. We recommend using it on face, lips, and body for comprehensive skin renewal. When stored properly, this lemon sugar scrub lasts up to one year.
Orange Sugar Scrub
Orange sugar scrubs deliver powerful antioxidant properties that brighten dull skin and promote a healthy glow. We create these energizing blends using sugar as the primary exfoliant combined with nourishing carrier oils. Orange essential oil provides hydration while its natural compounds help refresh tired-looking skin.
Ingredients:
- 2 cups granulated white sugar
- ½ cup coconut oil (melted)
- 2 tablespoons sweet almond oil
- 25 drops orange essential oil
- 1 tablespoon fresh orange zest (optional)
Instructions:
- Mix sugar with melted coconut oil until well combined
- Add sweet almond oil and orange essential oil
- Fold in fresh orange zest if using
- Store in airtight containers for up to 6 months
Orange oil’s uplifting scent transforms our scrub routine into an aromatherapy experience while delivering skin-brightening benefits.
Grapefruit Sugar Scrub
Grapefruit sugar scrubs offer detoxifying properties that help reduce excess oil and improve skin texture. We formulate these refreshing blends to harness grapefruit’s natural acids and antioxidants for comprehensive skin renewal. The citrus helps purify pores while providing gentle exfoliation.
Ingredients:
- 2 cups brown sugar
- ⅓ cup jojoba oil
- 2 tablespoons grapeseed oil
- 30 drops grapefruit essential oil
- 1 tablespoon fresh grapefruit juice
Instructions:
- Combine brown sugar with jojoba oil in a large bowl
- Add grapeseed oil and mix until the texture feels balanced
- Incorporate grapefruit essential oil and fresh juice
- Blend thoroughly and transfer to sealed containers
This invigorating scrub works particularly well for oily or combination skin types. We find that grapefruit’s natural enzymes help brighten skin tone while the sugar provides gentle yet effective exfoliation for smoother, more radiant results.
Essential Oil Sugar Scrubs
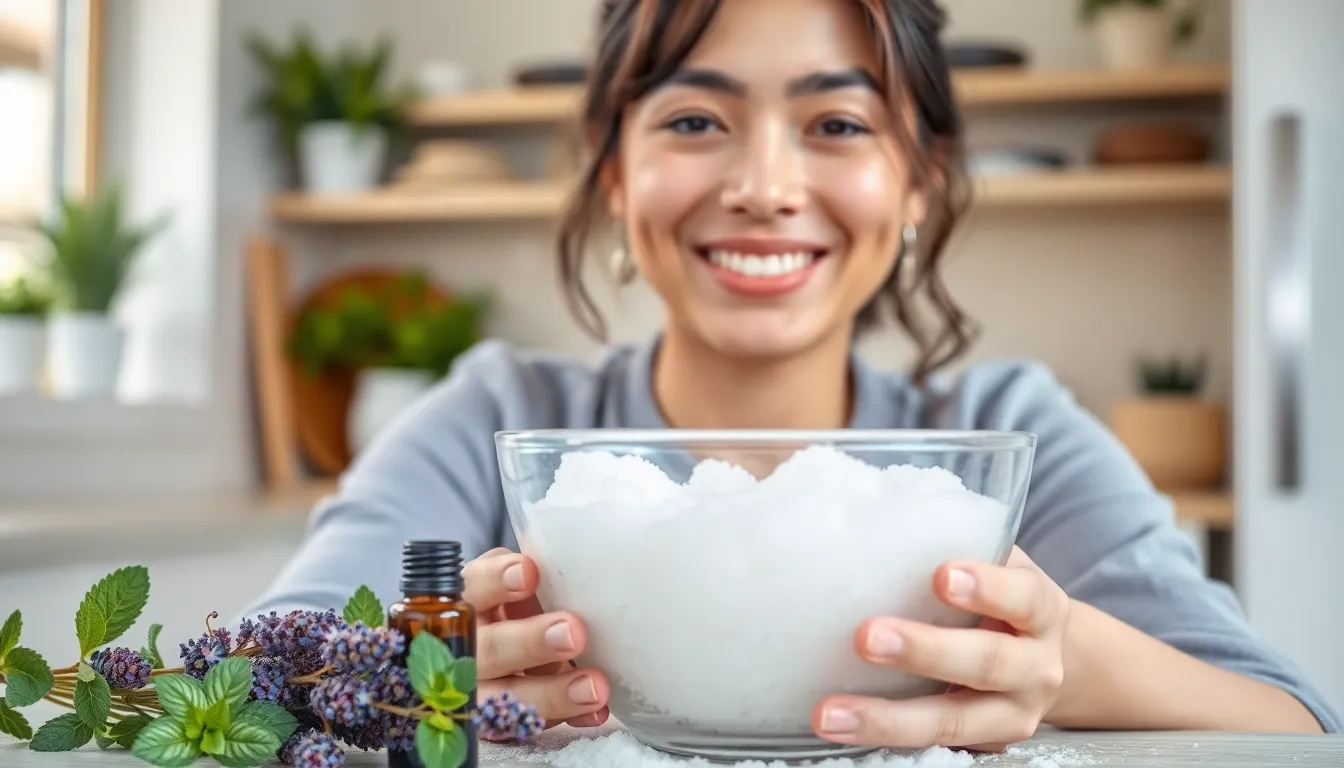
Essential oils transform your basic sugar scrub into a therapeutic skincare treatment that delivers targeted benefits for your exact needs. These aromatic additions provide calming, invigorating, or antibacterial effects while maintaining the exfoliating power of sugar crystals.
Lavender Sugar Scrub
This soothing scrub combines the gentle exfoliation of sugar with lavender’s renowned relaxing and anti-inflammatory properties. We recommend this blend for evening use when you want to unwind while caring for your skin.
Ingredients:
- 1 cup white or brown sugar
- ¼ cup carrier oil (jojoba, sweet almond, or coconut oil)
- 10-12 drops lavender essential oil
Instructions:
- Pour the sugar into a mixing bowl
- Add your chosen carrier oil and stir until well combined
- Drop in the lavender essential oil and mix thoroughly
- Transfer to an airtight container for storage
Application: Massage onto clean, damp skin using circular motions for 1-2 minutes, then rinse with warm water. The lavender promotes a sense of calm while soothing irritated skin.
Peppermint Sugar Scrub
Energize your skincare routine with this invigorating peppermint blend that awakens the senses and provides a cooling sensation. This scrub works particularly well for morning use or after workouts when you need to refresh tired muscles.
Ingredients:
- 1 cup white or brown sugar
- ¼ cup carrier oil
- 8-10 drops peppermint essential oil
Instructions:
- Combine the sugar and carrier oil in a bowl
- Mix until the consistency feels right for your preference
- Add peppermint essential oil gradually while stirring
- Store in a sealed container away from direct sunlight
Application: Apply to damp skin in circular motions, allowing the peppermint to increase mental alertness while reducing muscle fatigue. Rinse thoroughly with warm water after use.
Tea Tree Sugar Scrub
Target problematic skin with this antibacterial and antifungal sugar scrub that helps combat breakouts while providing gentle exfoliation. We formulated this recipe specifically for acne-prone or blemish-prone skin types.
Ingredients:
- 1 cup white or brown sugar
- ¼ cup carrier oil
- 6-8 drops tea tree essential oil
Instructions:
- Start by mixing the sugar and carrier oil together
- Blend until you achieve a consistent texture
- Add tea tree essential oil slowly while continuing to mix
- Store in an airtight container for up to three months
Application: Gently massage onto clean skin, focusing on areas prone to breakouts. The tea tree oil’s antibacterial properties work to prevent future blemishes while the sugar removes dead skin cells.
| Usage Guidelines | Recommendation |
|---|---|
| Frequency | 1-2 times per week |
| Skin Preparation | Clean, damp skin |
| Application Time | 1-2 minutes |
| Aftercare | Moisturize immediately |
Exfoliating Lip Sugar Scrub
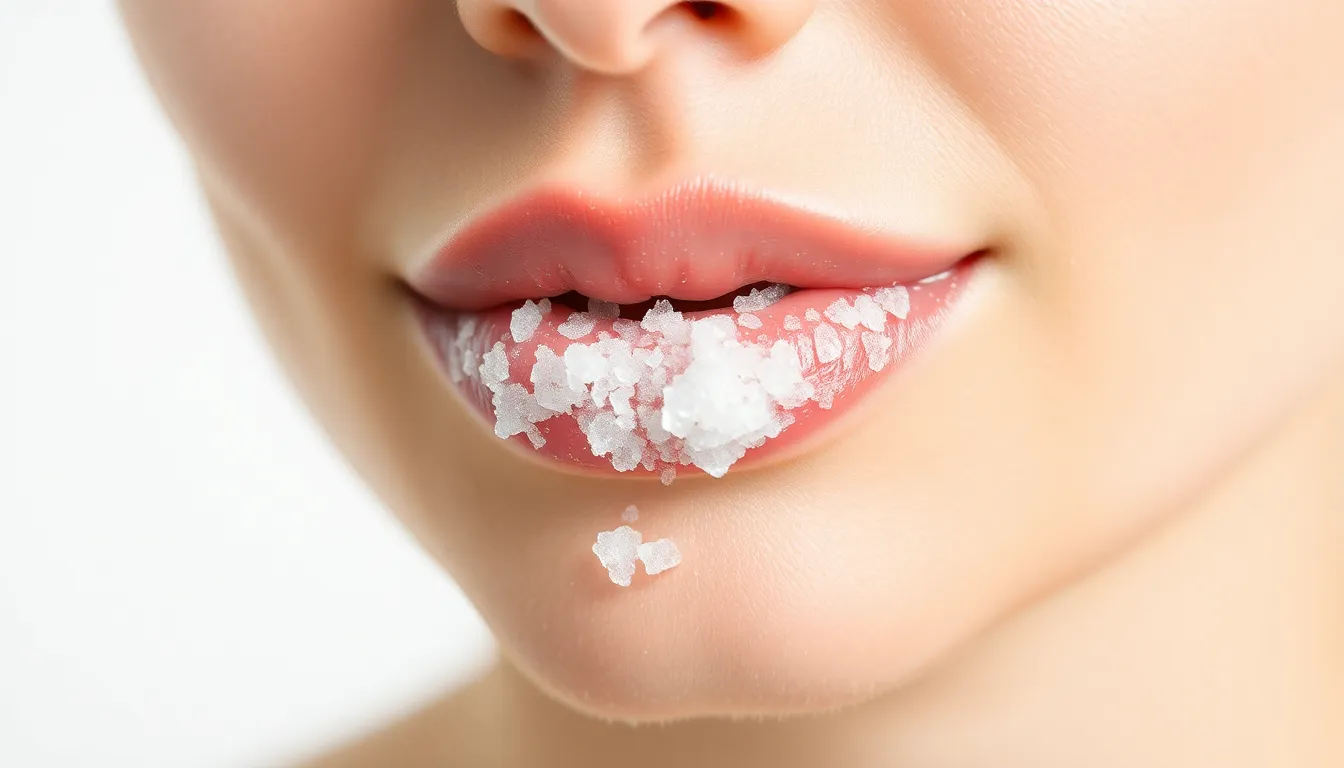
Our lips deserve special attention when it comes to exfoliation since they require gentler treatment than the rest of our body. This dedicated lip sugar scrub uses fine sugar and nourishing oils to remove dead skin while preventing irritation on delicate lip tissue.
Ingredients
- 1-2 tablespoons fine white or brown sugar (fine texture prevents abrasion)
- 1/2-1 tablespoon solid or melted coconut oil (or jojoba or almond oil for sensitive skin)
- 1-2 drops food-grade essential oil (peppermint or vanilla for flavor and fragrance, optional)
Instructions
- Combine the base ingredients by mixing sugar and oil in a small bowl until well-blended and the mixture holds together
- Add flavor enhancement by stirring in essential oil drops if desired, ensuring even distribution throughout the scrub
- Store properly by transferring the mixture to a clean, airtight container to maintain freshness
- Apply gently by massaging a small amount onto lips for 10-20 seconds using light circular motions
- Remove thoroughly by rinsing off with warm water or wiping gently with a damp cloth
- Use sparingly by limiting application to 1-2 times per week to prevent over-exfoliation and irritation
| Usage Guidelines | Recommendation |
|---|---|
| Frequency | 1-2 times per week |
| Application time | 10-20 seconds |
| Storage location | Cool, dry place |
| Shelf life | Until oil becomes rancid |
Always perform a patch test on a small skin area before first use if you have sensitive skin. Store the scrub in a cool, dry place and discard if the oil develops an off smell or becomes rancid.
Equipment and Tools Needed
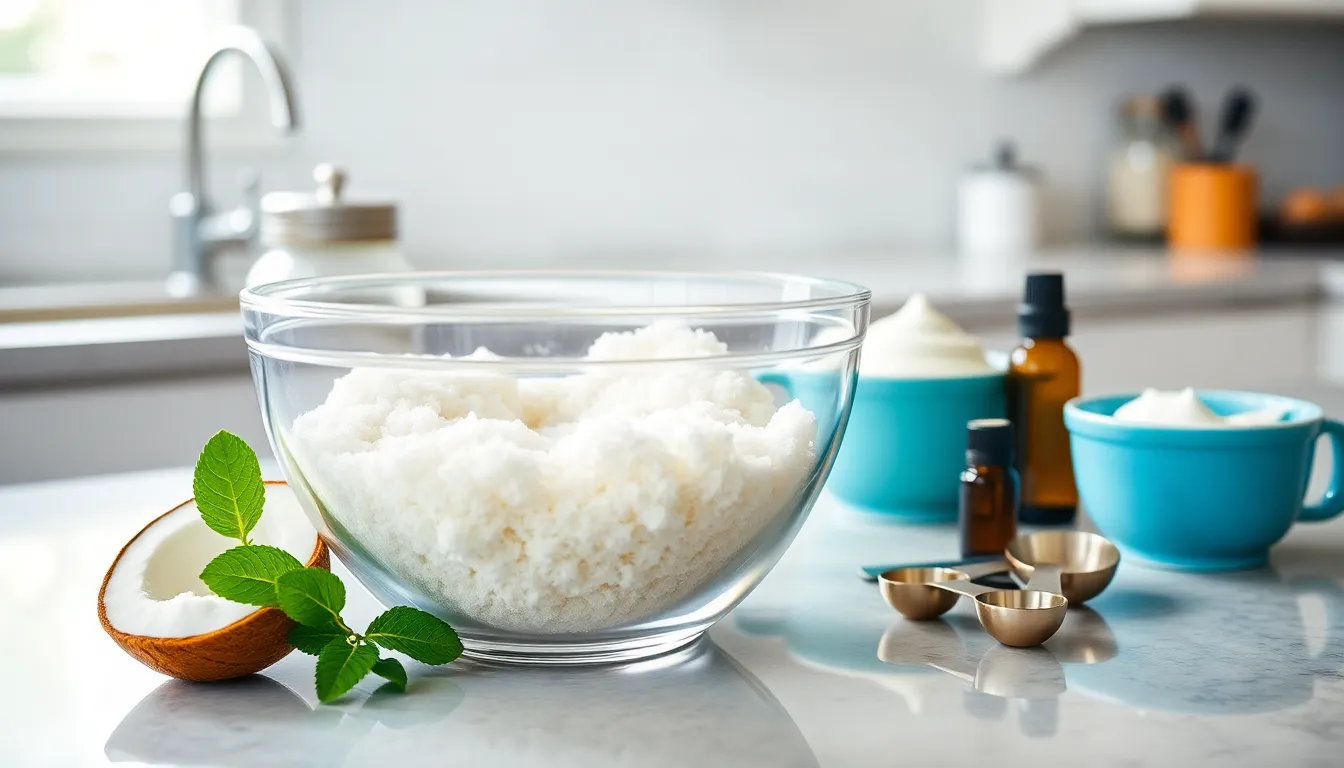
Creating our homemade sugar scrubs requires minimal equipment that most of us already have in our kitchens. We recommend gathering these essential tools before starting any sugar scrub recipe to ensure a smooth preparation process.
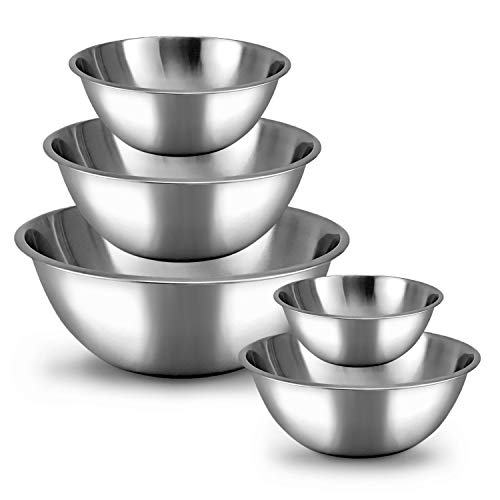
Mixing bowl serves as our primary workspace for combining all ingredients. We prefer using a medium-sized glass or ceramic bowl that provides enough room for thorough mixing without spillage.
Mixing spoons help us blend ingredients evenly throughout the scrub mixture. A wooden spoon or silicone spatula works best for achieving the perfect consistency while preventing damage to our mixing bowl.
Measuring spoons ensure we add precise amounts of essential oils and extracts. We need a complete set including 1/4 teaspoon through 1 tablespoon measurements for accurate recipe execution.
Measuring cups allow us to portion out larger quantities of sugar and carrier oils correctly. We recommend having both dry and liquid measuring cups available for different ingredient types.
| Equipment | Purpose | Size Recommendation |
|---|---|---|
| Mixing bowl | Combining ingredients | Medium (2-3 cup capacity) |
| Mixing spoons | Blending mixture | Standard wooden or silicone |
| Measuring spoons | Precise small amounts | Complete set (1/4 tsp – 1 tbsp) |
| Measuring cups | Larger quantities | Both dry and liquid types |
Our equipment list focuses on simplicity and effectiveness. These basic tools enable us to create professional-quality sugar scrubs without investing in specialized equipment. We can easily clean all items with warm soapy water after each use to maintain hygiene and prevent ingredient contamination between batches.
Storage Instructions
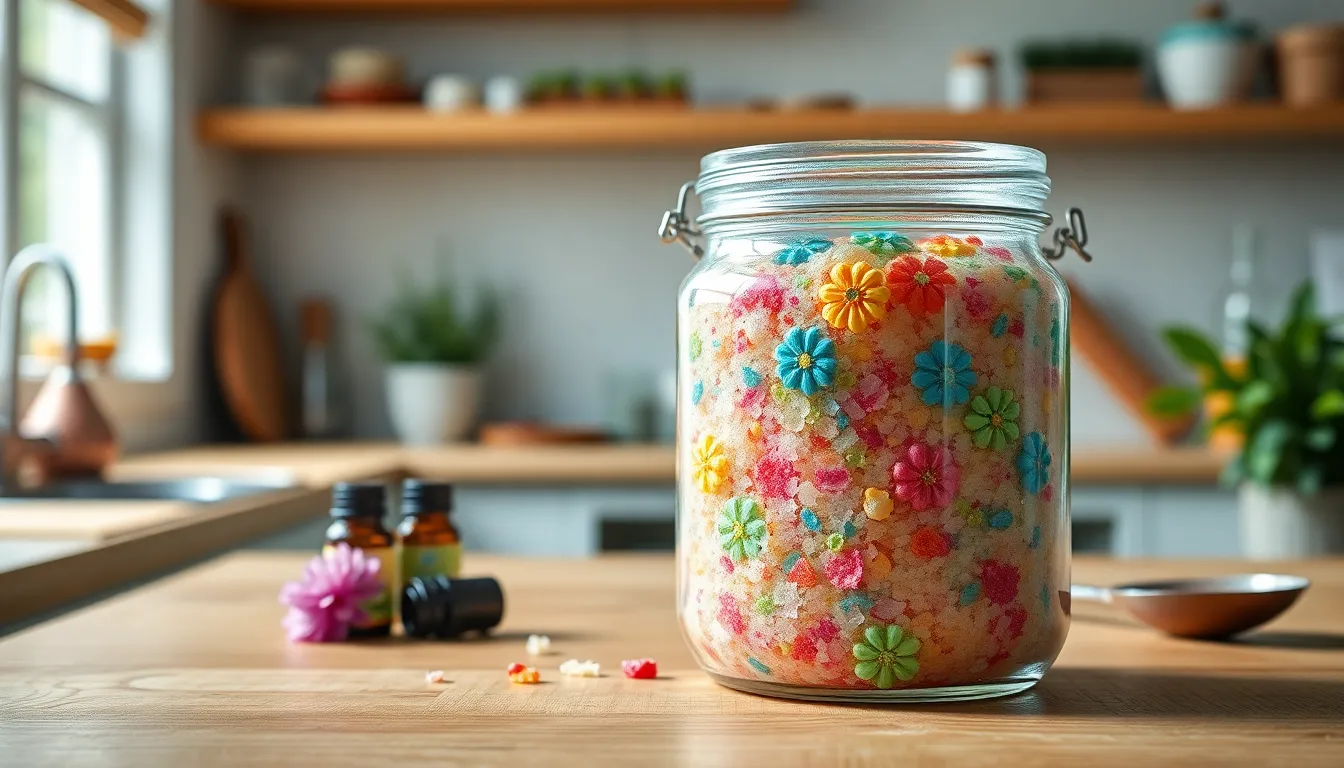
Proper storage ensures your homemade sugar scrubs maintain their quality and effectiveness for maximum shelf life. We’ll guide you through the best practices for keeping your scrubs fresh and contamination-free.
Proper Containers
We recommend using non-reactive, airtight containers to preserve your sugar scrub’s integrity. Glass jars with tight-fitting lids offer the best protection against moisture and contamination. Plastic containers specifically labeled for cosmetic use also work well for storage needs.
Metal containers should be avoided as they can react with oils and essential additives in your scrub. The reaction between metal and natural oils can alter the scrub’s texture and reduce its effectiveness over time.
Always ensure your chosen container provides a complete seal to prevent air exposure. This airtight seal keeps moisture out and maintains the scrub’s consistency throughout its storage period.
Shelf Life Guidelines
Most homemade sugar scrubs last one to two months when stored properly in airtight containers. The type of oil used directly affects longevity, with refined coconut oil typically extending shelf life compared to less stable oil alternatives.
| Oil Type | Expected Shelf Life |
|---|---|
| Refined Coconut Oil | 2 months |
| Less Stable Oils | 1 month |
| Mixed Oil Blends | 1-2 months |
Store your scrub in a cool, dry place away from direct sunlight to maximize its lifespan. Avoid storing near water sources like showers or sinks to prevent moisture contamination that can cause spoilage.
Monitor your scrub regularly for signs of deterioration. Discard the scrub immediately if you notice any changes in odor, color, or texture that indicate spoilage.
Keep the scrub tightly sealed between uses and ensure hands or utensils are completely dry when dipping into the container. This simple practice prevents introducing moisture that can reduce your scrub’s shelf life significantly.
Application Tips and Techniques
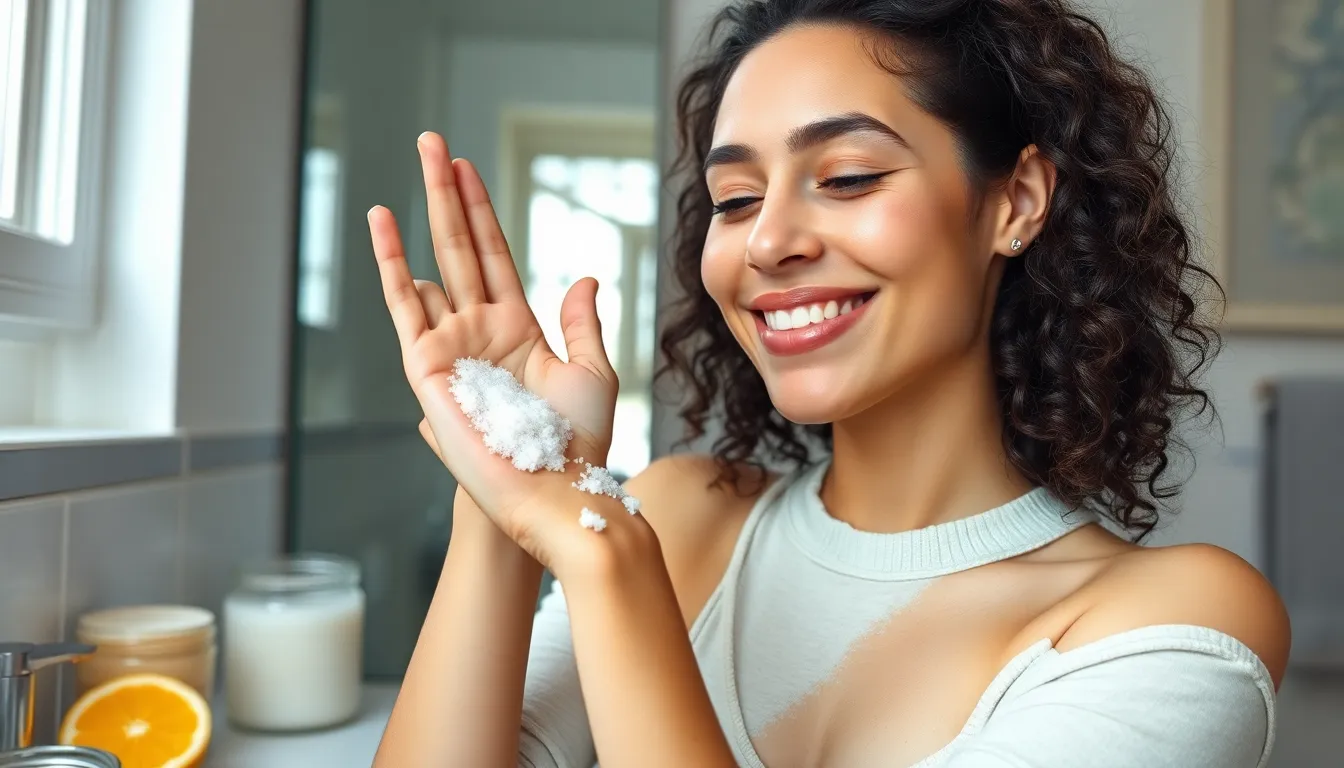
We recommend preparing your skin properly before applying any sugar scrub to maximize its effectiveness. Start by wetting your skin with warm water to soften the surface and open your pores. This preparation step helps the scrub penetrate more effectively while reducing potential irritation.
Apply the sugar scrub using gentle circular motions across your skin. We suggest starting with light pressure and gradually increasing as needed based on your skin’s sensitivity. Focus on areas that tend to be rougher such as elbows knees and heels where dead skin cells accumulate more readily.
Work the scrub into your skin for 30 to 60 seconds per area. Avoid scrubbing too vigorously as this can cause micro-tears or irritation especially on sensitive areas. For facial applications we recommend using an even lighter touch and limiting the application to once or twice per week.
Rinse thoroughly with lukewarm water after scrubbing each area. We find that lukewarm water removes the scrub effectively without shocking your freshly exfoliated skin. Pat your skin dry with a clean towel rather than rubbing to avoid irritation.
Follow up immediately with a moisturizer while your skin is still slightly damp. This technique helps lock in hydration and maximizes the benefits of the oils already present in your sugar scrub. Your skin will be more receptive to moisture absorption immediately after exfoliation.
Time your sugar scrub sessions strategically for best results. We suggest using body scrubs in the evening to allow your skin time to recover overnight. Morning applications work well for energizing scrubs containing coffee or citrus oils that provide an invigorating start to your day.
Pay attention to frequency recommendations based on your skin type. Those with sensitive skin should stick to once weekly applications while normal to oily skin types can typically handle twice weekly treatments. Monitor how your skin responds and adjust accordingly.
Avoid using sugar scrubs on broken irritated or sunburned skin. We also recommend skipping recently shaved areas for at least 24 hours to prevent stinging or inflammation. Always perform a patch test on a small area before applying any new scrub formulation to your entire body.
Store your sugar scrub containers in your bathroom for convenience but keep them away from direct shower spray. Water contamination can reduce the shelf life and effectiveness of your homemade scrubs. Use clean dry hands or a clean spoon to remove product from the container each time.
Make-Ahead Instructions
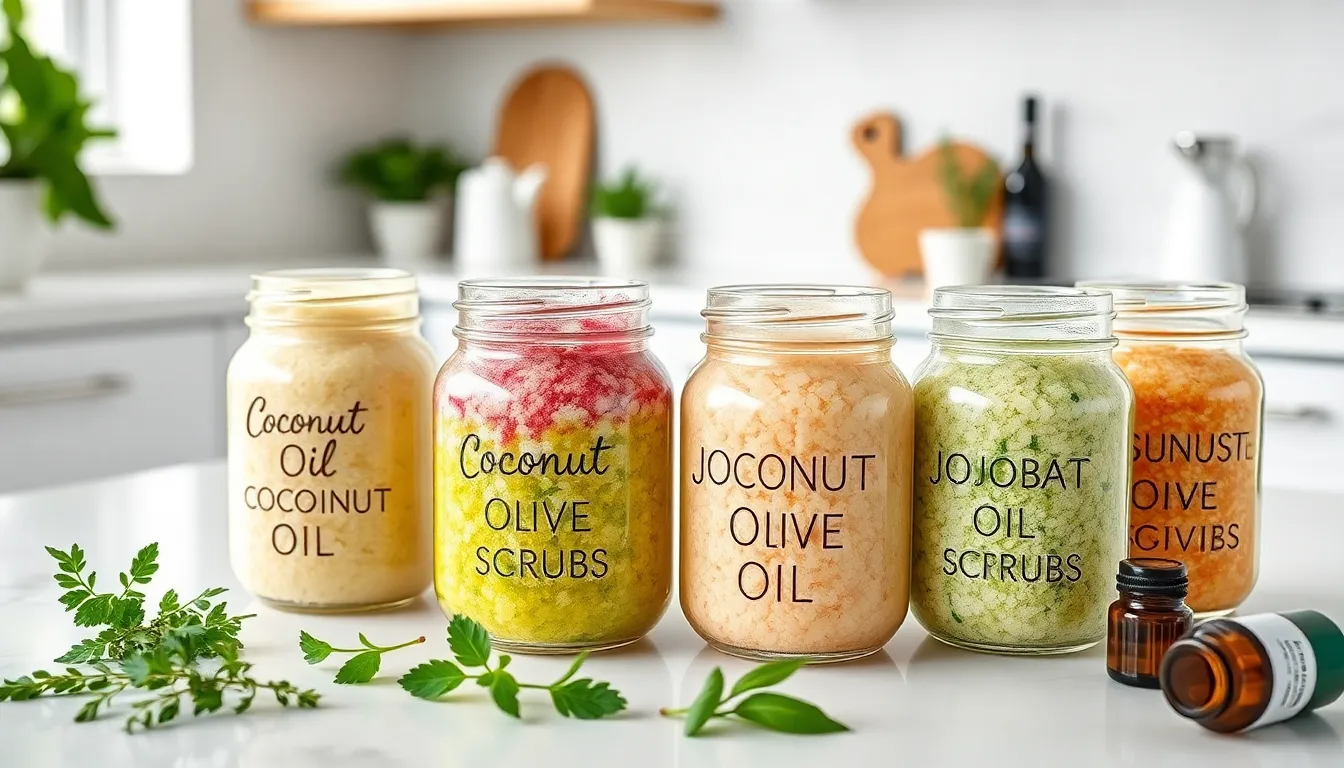
Sugar scrubs make excellent prep-ahead beauty treatments that can be batch-prepared for weeks of luxurious home spa sessions. We recommend preparing your scrubs 1-2 days before your first use to allow the oils and sugar to fully meld together for optimal texture and performance.
Start by gathering clean, sterilized mason jars or airtight glass containers before mixing your scrub. Glass containers work best because they resist staining and don’t absorb fragrances like plastic containers do. We suggest preparing multiple small jars rather than one large batch to minimize contamination risks each time you access the scrub.
Coconut oil-based scrubs require special attention during preparation since coconut oil solidifies at room temperature. Mix these scrubs when the coconut oil is at room temperature for the easiest blending. The scrub will firm up as it cools, creating the perfect consistency for storage.
Essential oil additions should be incorporated last to preserve their potency. We add these aromatic oils after the base mixture reaches room temperature to prevent evaporation of the beneficial compounds.
Label each container with the recipe name and preparation date using waterproof labels. This system helps you track freshness and rotate your scrub collection effectively.
Store your prepared scrubs in a cool, dry location away from direct sunlight and humidity. Bathroom storage works well if you keep containers sealed tightly between uses.
| Storage Timeline | Oil Type | Maximum Shelf Life |
|---|---|---|
| Coconut Oil Scrubs | Refined | 3 months |
| Olive Oil Scrubs | Light | 2 months |
| Jojoba Oil Scrubs | Pure | 6 months |
| Mixed Oil Scrubs | Various | 2 months |
Whipped scrub varieties maintain their fluffy texture best when stored in wide-mouth jars that accommodate easy scooping. We recommend preparing whipped peppermint or vanilla scrubs in smaller 4-ounce portions to maintain freshness.
Check your prepared scrubs weekly for any changes in smell, color, or texture that might indicate spoilage. Fresh scrubs should maintain their original appearance and pleasant fragrance throughout their storage period.
Conclusion
Creating homemade sugar scrubs transforms your skincare routine into a luxurious spa experience right at home. We’ve shared recipes that cater to every skin type and preference – from energizing coffee blends to soothing lavender mixtures.
The beauty of these DIY scrubs lies in their simplicity and effectiveness. With basic kitchen tools and natural ingredients you likely already have we can achieve professional-quality results without very costly.
Remember to store your scrubs properly in airtight containers and follow our application techniques for the best results. Your skin will thank you for the gentle exfoliation and deep nourishment these natural recipes provide.
Start with one recipe that appeals to you most and enjoy the journey to smoother healthier-looking skin.
Frequently Asked Questions
What are the benefits of homemade sugar scrubs over store-bought ones?
Homemade sugar scrubs are more affordable and customizable than commercial alternatives. You can tailor ingredients to your specific skin needs, avoid harsh chemicals, and create fresh batches as needed. They provide natural exfoliation while nourishing your skin with beneficial oils, eliminating the need for expensive spa treatments while delivering professional-quality results.
How long do homemade sugar scrubs last?
The shelf life depends on the oils used. Scrubs with refined coconut oil can last up to 3 months, while those with less stable oils typically last 1-2 months. Store in airtight glass containers in a cool, dry place and check weekly for any changes in smell, texture, or appearance that indicate spoilage.
How often should I use sugar scrubs?
For normal skin, use sugar scrubs 2-3 times per week. Sensitive skin should limit use to once weekly, while oily skin can handle more frequent applications. Always listen to your skin and reduce frequency if irritation occurs. Avoid using scrubs on broken, sunburned, or freshly shaved skin.
What’s the difference between white sugar and brown sugar scrubs?
White sugar provides more intense exfoliation due to its sharper crystals, making it ideal for rough areas like elbows and feet. Brown sugar is gentler with rounder crystals, perfect for sensitive skin and facial use. Brown sugar also contains natural moisturizing properties from molasses, providing additional skin benefits.
Can I use sugar scrubs on my face?
Yes, but use finer sugar and gentler pressure. Brown sugar or finely ground white sugar works best for facial skin. Apply with light circular motions, avoid the eye area, and limit use to once or twice weekly. Always perform a patch test first and discontinue if irritation occurs.
What equipment do I need to make sugar scrubs?
You only need basic kitchen tools: mixing bowls, measuring cups and spoons, and mixing spoons or spatulas. Most people already have these items at home. For storage, use clean glass jars with tight-fitting lids to maintain freshness and prevent contamination.
How do I properly apply sugar scrubs?
Start with damp, warm skin to soften it. Apply the scrub using gentle circular motions, focusing on rough areas like elbows and knees. Scrub for 1-2 minutes, then rinse with lukewarm water. Immediately apply moisturizer while skin is still slightly damp to lock in hydration.
Can I add essential oils to my sugar scrubs?
Yes, essential oils enhance sugar scrubs with aromatherapy benefits and additional skin properties. Add 5-10 drops per cup of scrub. Popular choices include lavender for relaxation, tea tree for acne-prone skin, and peppermint for energizing effects. Always use skin-safe, pure essential oils and perform patch tests.
What’s the best way to store sugar scrubs?
Use airtight glass containers to prevent moisture and contamination. Store in a cool, dry place away from direct sunlight and shower spray. Keep containers tightly sealed and use clean, dry hands or utensils when scooping. This prevents bacterial growth and maintains the scrub’s effectiveness.
Why should I make sugar scrubs ahead of time?
Making scrubs 1-2 days in advance allows ingredients to meld together, creating better texture and performance. The oils fully incorporate with the sugar, and essential oils have time to distribute evenly. This advance preparation results in a more cohesive, effective scrub with enhanced benefits.

