We’ve all experienced that magical moment when we first taste authentic clotted cream – that impossibly rich and velvety spread that transforms a simple scone into pure indulgence. This beloved British delicacy has been gracing afternoon tea tables for centuries, yet many home cooks assume it’s too complex to make at home.
Nothing could be further from the truth. Creating your own clotted cream requires just one ingredient and a bit of patience. We’re about to show you how this luxurious treat can become a regular feature in your kitchen, elevating everything from fresh berries to warm biscuits.
Whether you’re planning an elegant tea party or simply want to treat yourself to something extraordinary, homemade clotted cream delivers that authentic taste that store-bought versions simply can’t match. Once you master this simple technique, you’ll wonder why you ever bought it from the store.
What Is Clotted Cream
We define clotted cream as a thick, rich dairy product that originates from the southwestern regions of England, particularly Devon and Cornwall. This luxurious spread contains between 55-64% butterfat, making it significantly richer than heavy cream or butter.
Traditional clotted cream develops its characteristic texture through a slow heating process where we gently warm unpasteurized cream to create a thick, golden crust on top. The cream underneath becomes dense and velvety with a slightly tangy flavor that distinguishes it from regular whipped cream.
Our understanding of authentic clotted cream centers on its distinctive appearance and texture. Fresh clotted cream displays a pale yellow, wrinkled surface layer that we can easily spread with a knife. Beneath this crust lies the creamy, thick interior that has the consistency of soft butter mixed with cream cheese.
We recognize clotted cream by its unique production method that requires no additives or thickening agents. The natural proteins and fats in high-quality cream separate during the gentle heating process, creating the signature texture that makes this delicacy so prized.
Regional variations exist in how we prepare and serve clotted cream. Devonshire cream typically appears lighter in color and smoother in texture, while Cornish clotted cream often has a more pronounced golden hue and slightly grainier consistency. Both styles deliver the same rich, indulgent experience that has made clotted cream a cornerstone of British culinary tradition.
We appreciate clotted cream most when served at room temperature, allowing its full flavor profile to emerge. The cream pairs beautifully with scones, fresh berries, and jam, creating the perfect balance of richness and sweetness that defines a proper afternoon tea experience.
Essential Equipment for Making Clotted Cream
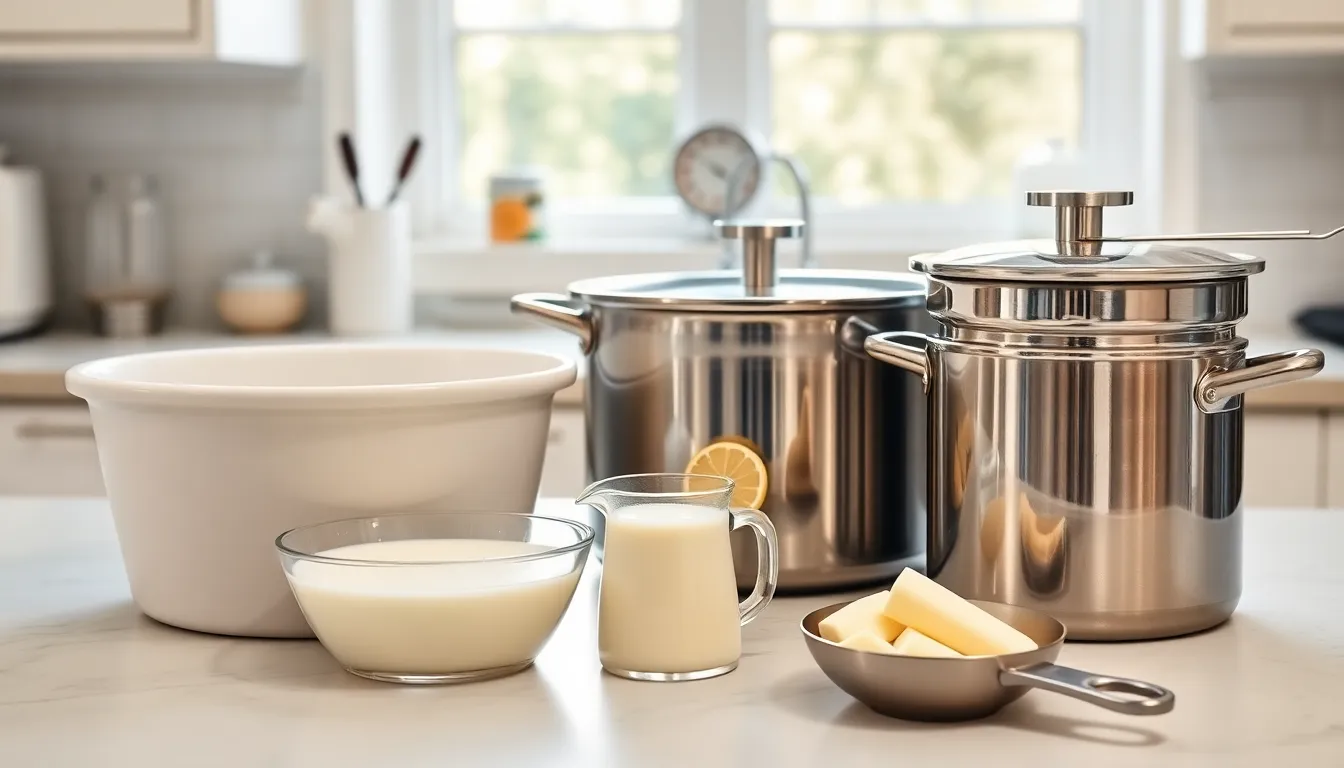
Creating authentic clotted cream at home requires exact equipment to achieve that perfect golden crust and velvety texture we all crave. We’ve compiled the essential tools that will ensure your homemade clotted cream rivals the finest offerings from Devon and Cornwall.
Primary Cooking Vessels
Oven-Safe Baking Dish or Casserole serves as our most reliable option for traditional clotted cream preparation. We recommend using a wide, shallow dish that allows for even heating and promotes proper crust formation during the slow baking process.
Heavy Bottomed Saucepan or Non-Reactive Pan becomes essential when we choose the stovetop method. Ceramic, enamel, glass, or stainless steel materials work best because they distribute heat evenly and prevent the cream from sticking or burning. We always avoid aluminum or reactive metals that could affect the cream’s delicate flavor.
Temperature Control Equipment
Thermometer ranks among our most critical tools for monitoring cream temperature throughout the cooking process. We must keep our cream below 175°F (80°C) to prevent separation and maintain the proper texture that defines quality clotted cream.
Double Boiler or Mixing Bowl with Saucepan provides gentle, indirect heating that we rely on for stovetop preparation. This setup prevents overheating and ensures our cream develops that characteristic thick consistency without curdling.
Alternative Cooking Methods
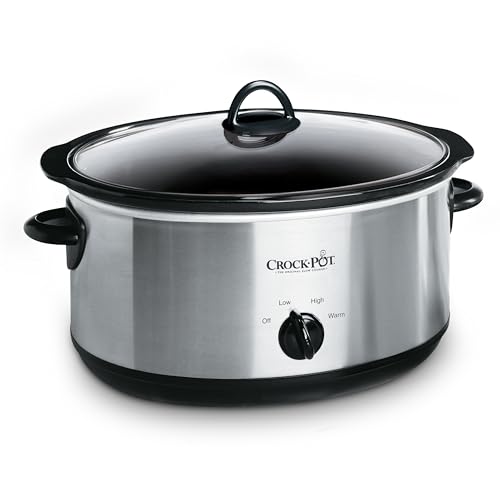
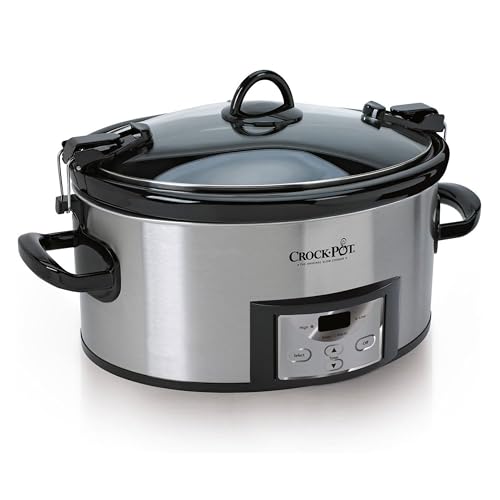
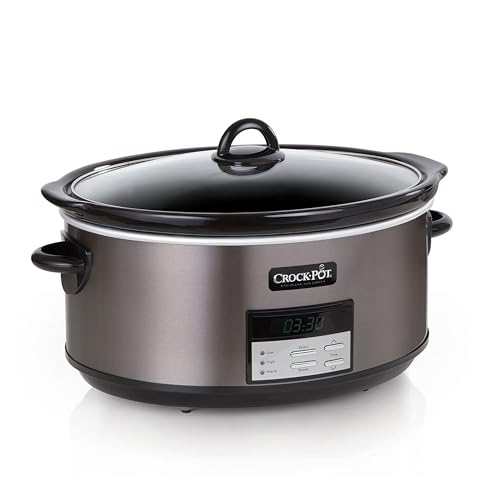
Slow Cooker, Crockpot, or Instant Pot offers modern convenience for busy home cooks. We place a heat-safe dish inside the main pot with water and cook on low settings for hands-off preparation.
Shallow Glass or Ceramic Dish becomes crucial during the cooling phase. We use these dishes to maximize surface area, which promotes optimal crust formation as our clotted cream sets.
| Equipment Type | Purpose | Temperature Range |
|---|---|---|
| Oven-Safe Dish | Primary cooking vessel | Below 175°F (80°C) |
| Heavy Saucepan | Stovetop method | Controlled low heat |
| Thermometer | Temperature monitoring | Critical below 175°F |
| Double Boiler | Gentle heating | Indirect heat source |
| Cooling Dish | Final setting phase | Room temperature to refrigerated |
Quality Considerations
We emphasize using fresh heavy or double cream rather than ultra-pasteurized varieties for optimal results. Our equipment choices directly impact the final texture and flavor, so investing in proper tools ensures consistent success with every batch of homemade clotted cream.
Traditional Clotted Cream Recipe
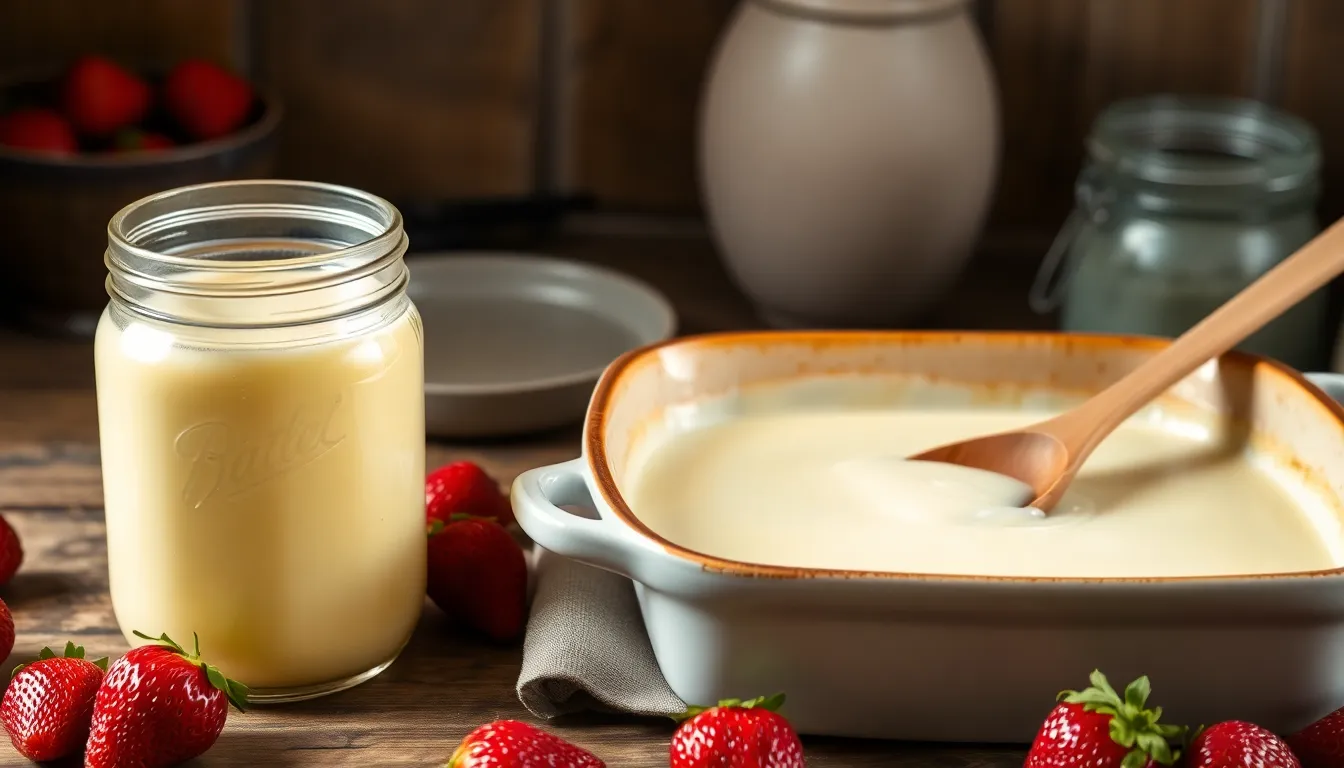
We’ll guide you through creating authentic clotted cream using the time-honored method that produces the signature golden crust and velvety texture. This traditional approach requires patience but delivers exceptional results that surpass any store-bought alternative.
Ingredients
- 1 cup heavy cream (36% to 40% fat content, preferably not ultra-pasteurized)
- Unsalted butter (optional, for added richness)
Instructions
Preparation: We begin by preheating our oven to 195°F (90°C). Pour the heavy cream into your oven-safe baking dish, ensuring the cream reaches about 1 to 1½ inches deep for optimal heat distribution.
Baking: Place the dish in the preheated oven and bake for 12 hours. The extended cooking time allows the cream to develop its characteristic thick layer. Alternatively, we can use a slow cooker or Instant Pot set to the lowest temperature around 175°F (80°C) for the same 12-hour duration.
Cooling: Remove the dish from heat and allow it to cool completely at room temperature. Transfer the cooled cream to the refrigerator and chill overnight to achieve proper separation.
Separation: After chilling, we’ll notice the cream has separated into distinct layers. The top layer presents as thick, yellowish clotted cream while liquid whey settles underneath. Carefully pour off the liquid portion, preserving the precious clotted layer.
Storage: Transfer our finished clotted cream to a canning jar or airtight container. Properly stored clotted cream maintains its quality in the refrigerator for up to 5 days.
| Method | Temperature | Duration | Equipment |
|---|---|---|---|
| Traditional Oven | 195°F (90°C) | 12 hours | Oven-safe dish |
| Slow Cooker | 175°F (80°C) | 12 hours | Slow cooker |
| Instant Pot | 175°F (80°C) | 12 hours | Instant Pot |
Quick Stovetop Alternative: For faster results, we place heavy cream and optional butter in a wide, heavy-bottomed saucepan over low to medium heat. Stir constantly while the mixture simmers and reduces by half, approximately 20 minutes. Pour into a shallow dish and refrigerate for several hours until the cream firms to the proper consistency.
Oven Method Clotted Cream
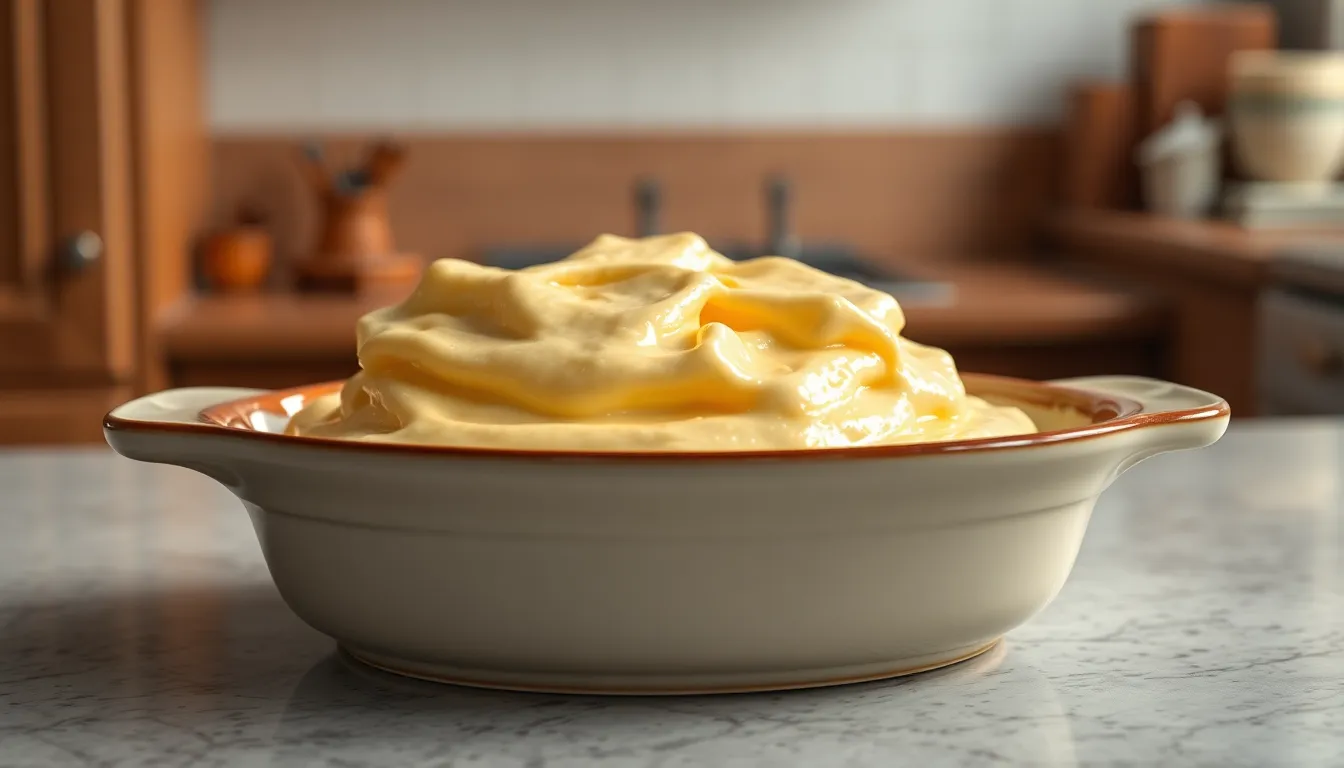
The oven method offers the most authentic approach to creating restaurant-quality clotted cream at home. This technique requires minimal effort while delivering the rich, golden-crusted results that make clotted cream so irresistible.
Ingredients
- Heavy cream: 2 cups (preferably not ultra-pasteurized, low-heat pasteurized if possible)
- Equipment: Large, shallow oven-safe dish (such as a 9-inch glass pie pan or 9×14 inch baking dish)
Directions
Preheat Oven: Set your oven to a low temperature between 175–180°F (79–82°C). We recommend checking that your oven maintains this temperature consistently throughout the long baking process.
Pour Cream: Transfer the heavy cream into your oven-safe dish. Keep the cream depth under 1.5 inches and maximize the surface area for optimal results.
Bake: Place the uncovered dish in the preheated oven. Allow the cream to bake for 10–12 hours or overnight until a thick, bubbly, yellow surface layer develops across the top.
Cool: Remove the dish from the oven and let it rest at room temperature for 30–60 minutes. This cooling period helps the cream structure stabilize before refrigeration.
Refrigerate: Cover the dish and chill in the refrigerator for 8–24 hours. This extended chilling time allows the clotted cream to achieve its signature firm texture.
Harvest: Use a slotted spoon to carefully lift off the thick clotted cream layer from the surface. Save the remaining liquid for other cooking applications or discard as needed.
Storage Notes: Store your finished clotted cream in an airtight container in the refrigerator for up to one week.
| Temperature Range | Baking Time | Cooling Time | Refrigeration Time |
|---|---|---|---|
| 175-180°F | 10-12 hours | 30-60 minutes | 8-24 hours |
Ultra-pasteurized cream should be avoided as it may not develop the proper thickness we desire for authentic clotted cream. Ensure your oven does not have automatic shut-off features that could interrupt the lengthy baking process.
Slow Cooker Clotted Cream Recipe
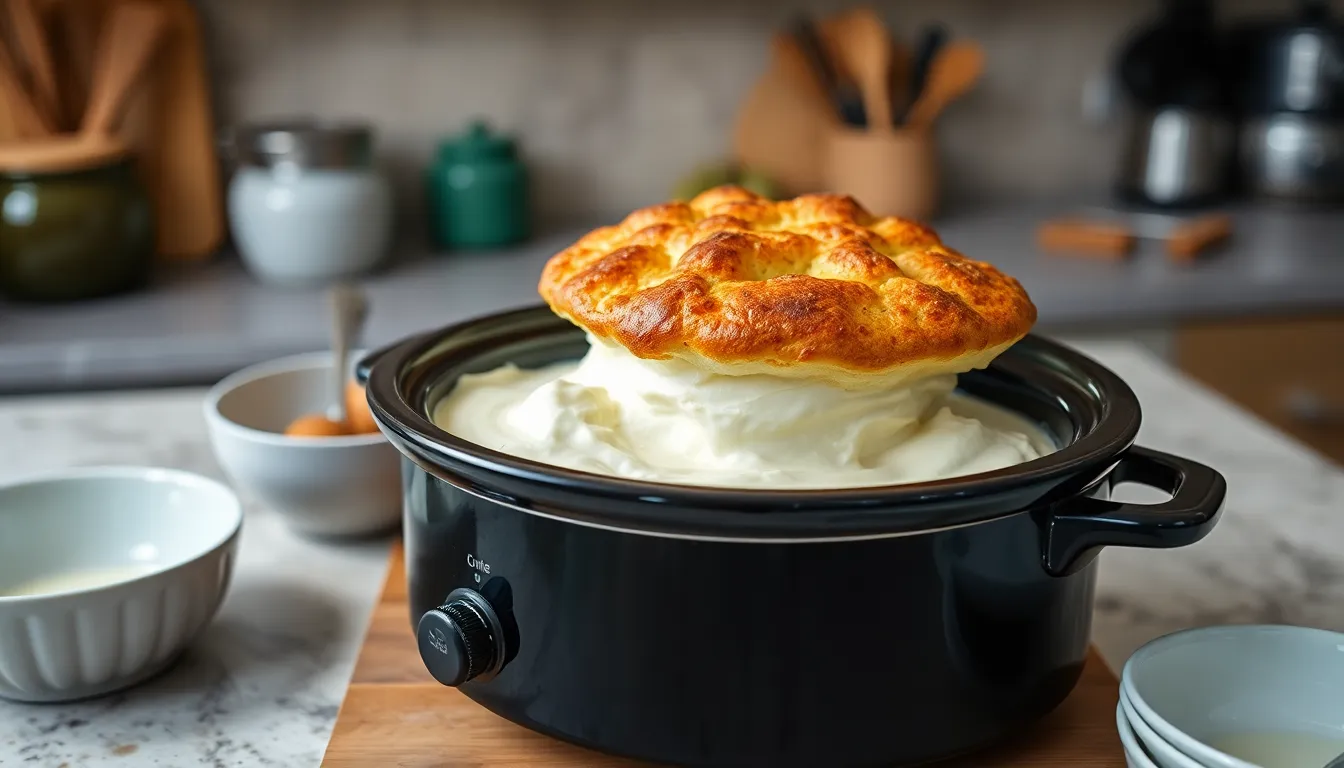
Our slow cooker method offers the ultimate convenience for making authentic clotted cream at home. This gentle cooking approach mimics the traditional baked method while providing consistent results with minimal supervision.
Ingredients
- 2 pints heavy cream or double cream (about 1 liter)
- Small amount of unsalted butter (optional for extra richness)
Important: Avoid ultra-pasteurized cream as it prevents proper thickening and affects the final texture.
Instructions
- Pour the cream directly into your slow cooker insert without stirring or mixing.
- Set your slow cooker to “warm” setting or the lowest possible temperature option. We maintain temperatures between 160-180°F (70-80°C) to prevent boiling or curdling.
- Cook uncovered for 10-12 hours or overnight until a thick golden crust forms on the surface. Never stir the cream during this cooking process.
- Remove the slow cooker insert from the base and allow it to cool at room temperature for approximately 30 minutes.
- Refrigerate the cream uncovered for 8-12 hours or overnight. The cream will continue thickening and setting during this chilling period.
- Carefully skim off the golden crust using a large spoon or spatula. This golden layer is your finished clotted cream.
- Reserve the remaining liquid underneath for baking projects as it resembles buttermilk in consistency and flavor.
Storage Tips: Keep your clotted cream refrigerated and consume within 2-3 days for optimal freshness. Use a wide shallow insert when possible to maximize surface area for better crust formation.
Make-Ahead Instructions
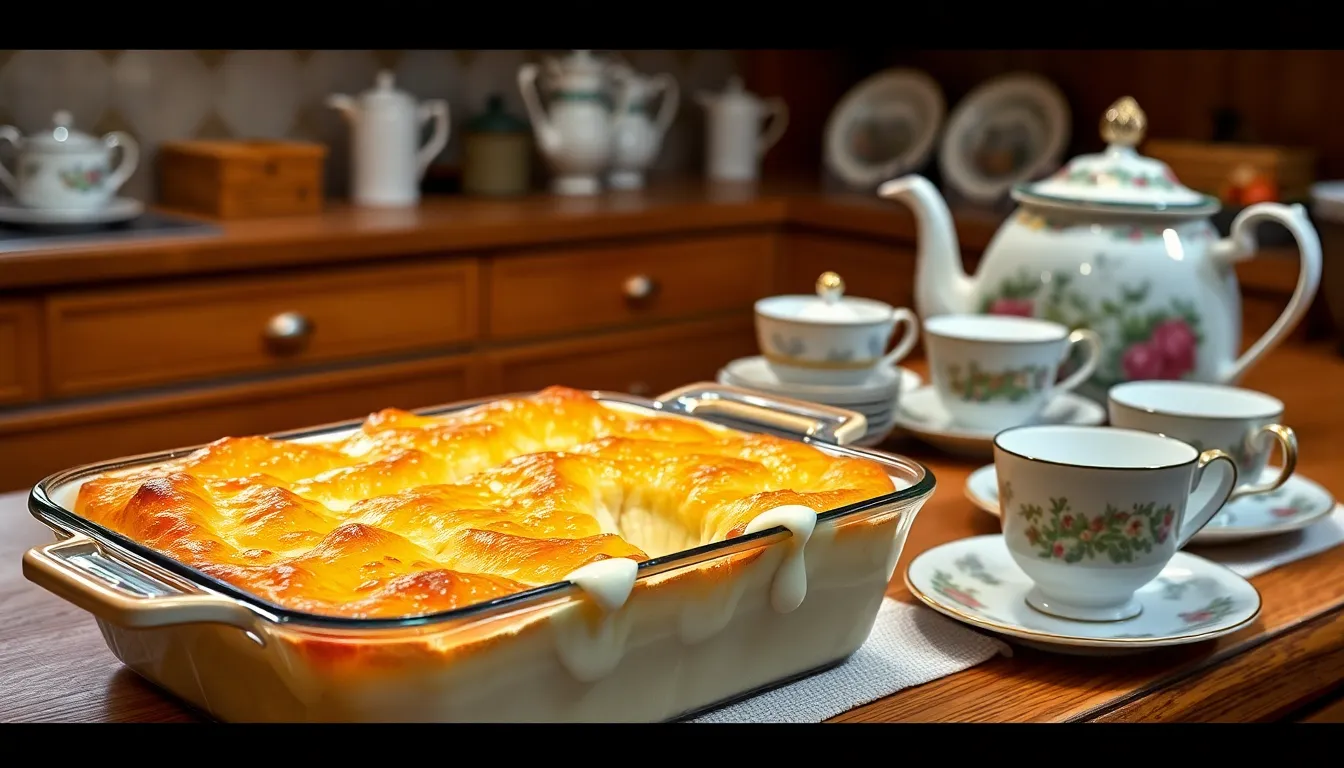
Planning ahead makes creating perfect clotted cream effortless for our special occasions or afternoon tea gatherings. We recommend preparing this luxurious treat a full day before we need it to ensure optimal texture and flavor development.
Starting the process the evening before works best for our schedules. We can pour our heavy cream into the oven-safe dish and begin the 10-12 hour baking process right before bedtime. This timing allows the cream to finish baking by morning while we sleep.
Once the baking period ends we should remove the dish from the oven and let it cool completely at room temperature. The cooling process typically takes 2-3 hours depending on our kitchen temperature. We must resist the temptation to rush this step as proper cooling ensures the golden crust sets correctly.
After reaching room temperature we transfer the dish to our refrigerator for the final chilling phase. The cream needs at least 8 hours of refrigeration to achieve that signature thick consistency we desire. Overnight chilling works perfectly and guarantees our clotted cream will be ready for serving the next day.
Storage becomes simple when we prepare ahead since properly made clotted cream maintains its quality for up to one week in the refrigerator. We can portion the finished cream into smaller containers for easier serving or keep it in the original baking dish covered with plastic wrap.
Making clotted cream in advance actually improves its flavor as the cream has more time to develop its characteristic tangy notes. The extended resting period allows all the flavors to meld together creating a more complex and satisfying taste profile for our guests to enjoy.
Storage and Shelf Life
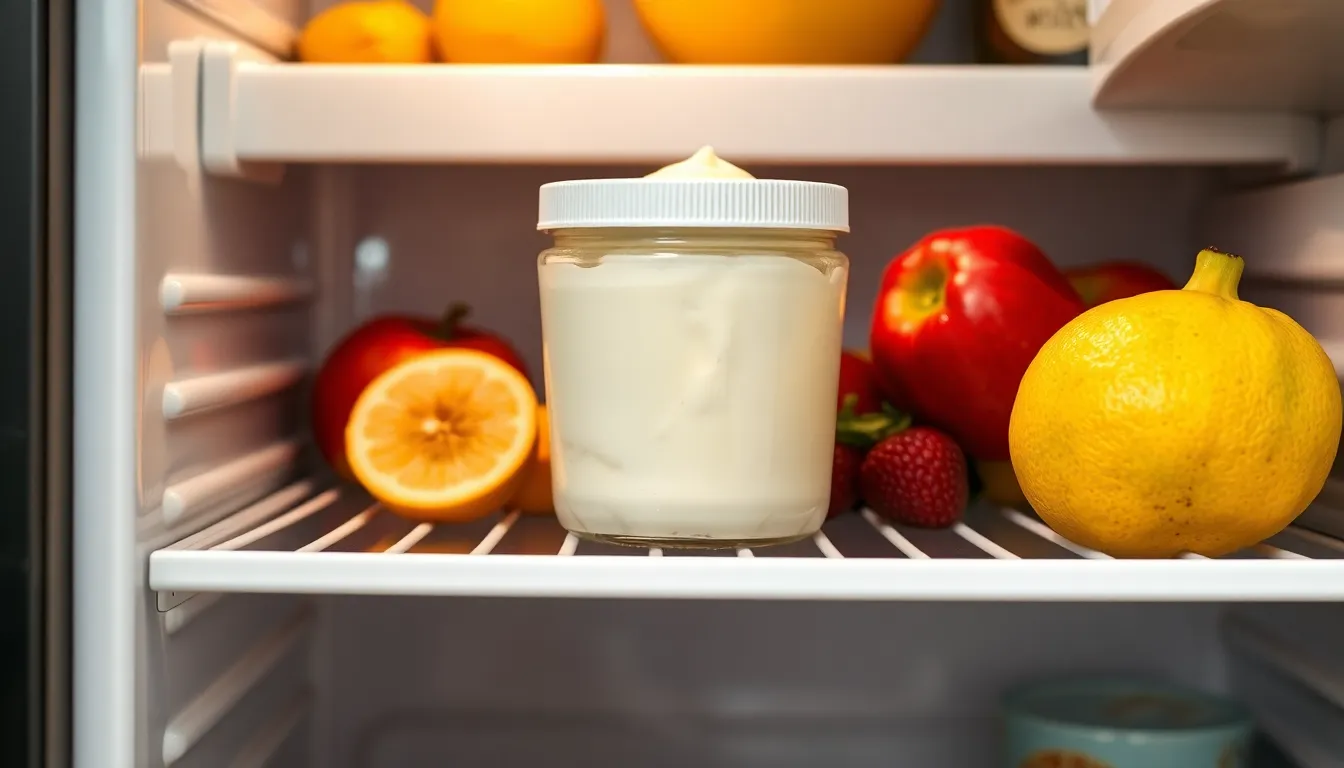
Proper storage transforms our homemade clotted cream from a short-lived indulgence into a lasting treat we can enjoy for days. The key lies in maintaining consistent refrigeration temperatures at or below 40°F (4°C) to preserve both quality and safety.
Refrigerator Storage Guidelines
Our freshly made clotted cream requires immediate refrigeration once the cooling process completes. We recommend transferring the skimmed cream into an airtight container to prevent absorption of refrigerator odors and maintain optimal texture. Clean utensils are essential during this process to prevent contamination that could reduce shelf life.
| Clotted Cream Type | Refrigerator Shelf Life |
|---|---|
| Homemade | 4-5 days |
| Commercial (Unopened) | Up to 14 days/use-by date |
| Commercial (Opened) | 3-5 days |
Maximizing Freshness
Temperature consistency plays a crucial role in extending our clotted cream’s usable life. We should avoid placing the container in the refrigerator door where temperatures fluctuate frequently. Instead, storing it on a middle shelf provides the most stable environment.
Seal integrity matters significantly for preservation. We must ensure our storage container closes tightly to prevent air exposure that can cause the cream to develop off-flavors or spoil prematurely. Using clean spoons each time we serve prevents introducing bacteria that could accelerate spoilage.
Signs of Spoilage
Visual inspection helps us determine when our clotted cream has passed its prime. Fresh clotted cream maintains its characteristic pale yellow color with a smooth, spreadable texture. We should discard any cream showing mold growth, unusual discoloration, or separation that cannot be gently stirred back together.
Aroma provides another reliable indicator of quality. Our clotted cream should smell fresh and mildly sweet. Any sour, tangy, or off-putting odors signal that the cream has begun to spoil and should not be consumed.
Freezing Considerations
Freezing our clotted cream is not recommended as it significantly alters the texture and consistency we work so hard to achieve. The freezing process causes the cream to separate and become grainy when thawed, eliminating the smooth, velvety quality that makes clotted cream special.
Storage Best Practices
We achieve optimal results by handling our clotted cream with clean utensils every time we serve it. This simple practice prevents cross-contamination and extends the cream’s usable life. Also, we should return the container to the refrigerator promptly after use rather than leaving it at room temperature for extended periods.
Serving Suggestions
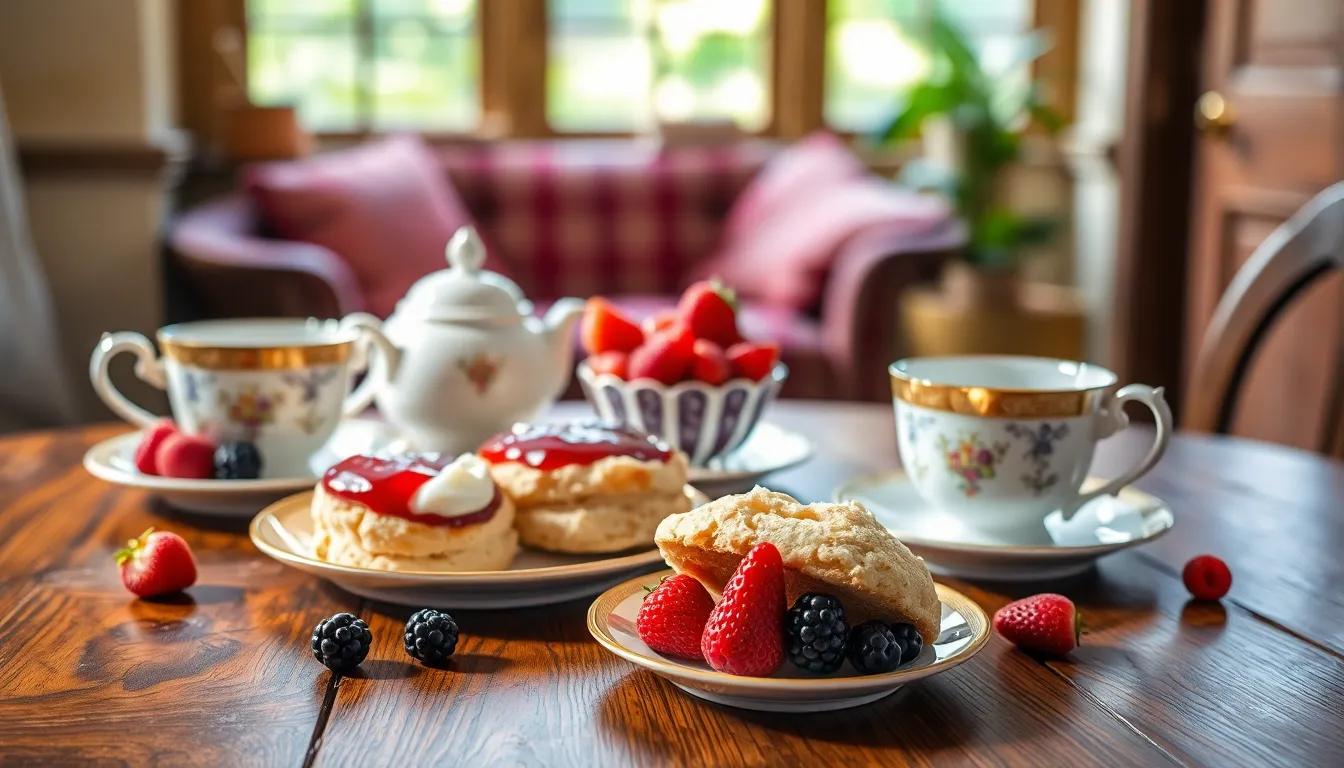
Our homemade clotted cream transforms into the perfect accompaniment for countless culinary applications. We love exploring the versatility of this rich dairy delight across traditional and creative serving styles.
Classic Afternoon Tea
Traditional scones paired with our freshly made clotted cream and strawberry jam create the quintessential cream tea experience. We recommend warming the scones slightly before serving to enhance their texture against the cool cream. The proper Devonshire method involves spreading clotted cream first followed by jam while Cornish tradition reverses this order.
Fresh berries complement the rich cream beautifully during afternoon tea service. We suggest arranging strawberries raspberries and blackberries alongside the cream for guests to customize their portions. Delicate tea cakes and Victoria sponge also benefit from generous dollops of our homemade clotted cream.
Dessert Applications
Fruit tarts and pastries gain luxurious appeal when topped with clotted cream instead of traditional whipped cream. We find that the dense texture holds its shape better on warm desserts like apple crumble or bread pudding. The slight tang in clotted cream balances sweet desserts perfectly.
Fresh seasonal fruit bowls become elegant desserts with our clotted cream served alongside. Poached pears strawberries and cream or simple berry compotes transform into restaurant quality presentations. We also enjoy using clotted cream as a base for fool recipes mixing it gently with crushed fruit.
Breakfast Ideas
Morning toast receives an indulgent upgrade when spread with clotted cream instead of butter. We particularly enjoy it on warm English muffins or fresh biscuits for weekend breakfast treats. The cream melts slightly on warm bread creating an irresistible texture.
Pancakes and waffles benefit from dollops of clotted cream rather than traditional maple syrup alone. We recommend serving the cream at room temperature for easy spreading and optimal flavor release. French toast topped with clotted cream and fresh berries creates an elegant brunch presentation that impresses guests every time.
Troubleshooting Common Issues
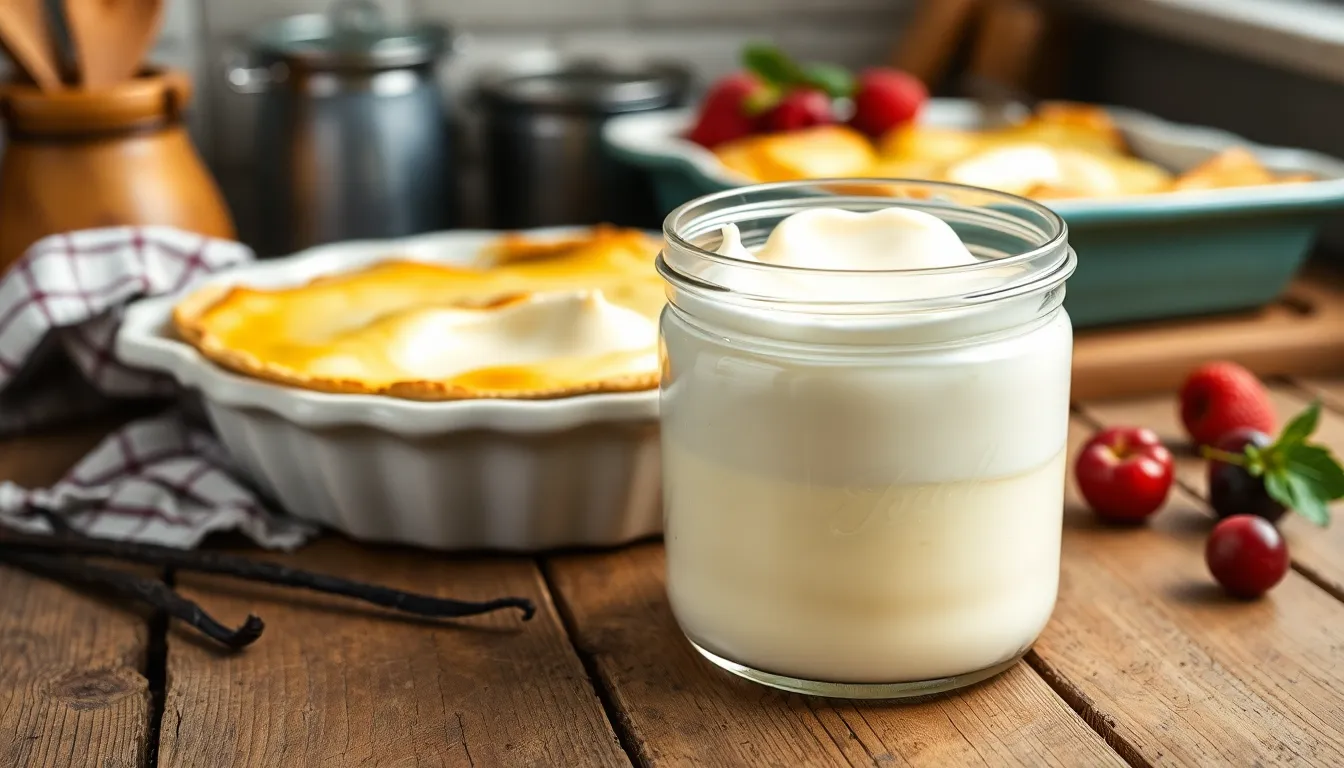
Even experienced bakers encounter challenges when making clotted cream at home. We’ll address the most common problems and provide answers to ensure your clotted cream turns out perfectly every time.
Texture Problems
Runny or Thin Consistency
Ultra-pasteurized cream often produces disappointing results with a runny texture that never properly thickens. We recommend using non-ultra pasteurized heavy cream exclusively for the best clotting results. Standard pasteurized cream contains the proteins necessary for proper thickening during the long cooking process.
Insufficient Clot Formation
Using shallow dishes prevents proper clot development since the cream needs adequate depth to form its characteristic thick layer. We suggest using baking dishes that allow the cream to reach 1-1½ inches deep for optimal clotting. Deep dishes create the ideal environment for the proteins to coagulate and form that signature golden crust.
Cooking Time Issues
Insufficient cooking time remains one of the most frequent causes of texture problems. We check our cream regularly during the 12-hour baking process or 5-6 hour stovetop method to ensure proper clotting has occurred. The cream should develop a thick, wrinkled crust on top when properly cooked.
Temperature Control Problems
Maintaining consistent low temperatures proves crucial for achieving the proper texture. We keep our oven at exactly 195°F (90°C) for the baked method or use the lowest heat setting for stovetop preparation. Higher temperatures can cause the cream to separate or develop an undesirable grainy texture.
Flavor Concerns
Bland or Weak Taste
High-quality cream makes a important difference in the final flavor profile of your clotted cream. We always select the freshest heavy cream available from reputable dairy sources to ensure rich, complex flavors develop during the cooking process. Premium cream contains higher butterfat content that translates directly to better taste.
Improving Natural Flavors
Adding subtle flavorings like vanilla extract can elevate the taste without overpowering the cream’s natural richness. We add these enhancements sparingly, typically no more than ½ teaspoon per quart of cream, to complement rather than mask the traditional flavor profile.
Preserving Freshness
Proper storage in sealed containers maintains the delicate flavor balance we work to achieve. We store our finished clotted cream in airtight glass jars or containers in the refrigerator to prevent flavor deterioration and absorption of other food odors. Fresh clotted cream should taste slightly tangy with a rich, buttery finish.
Whey Separation Issues
Carefully draining the whey prevents dilution of flavors and maintains the proper consistency. We allow the whey to separate naturally during the cooling process, then gently lift away the clotted layer without disturbing the liquid underneath. Leaving excess whey can result in a thinner texture and weaker flavor concentration.
Variations and Flavor Additions
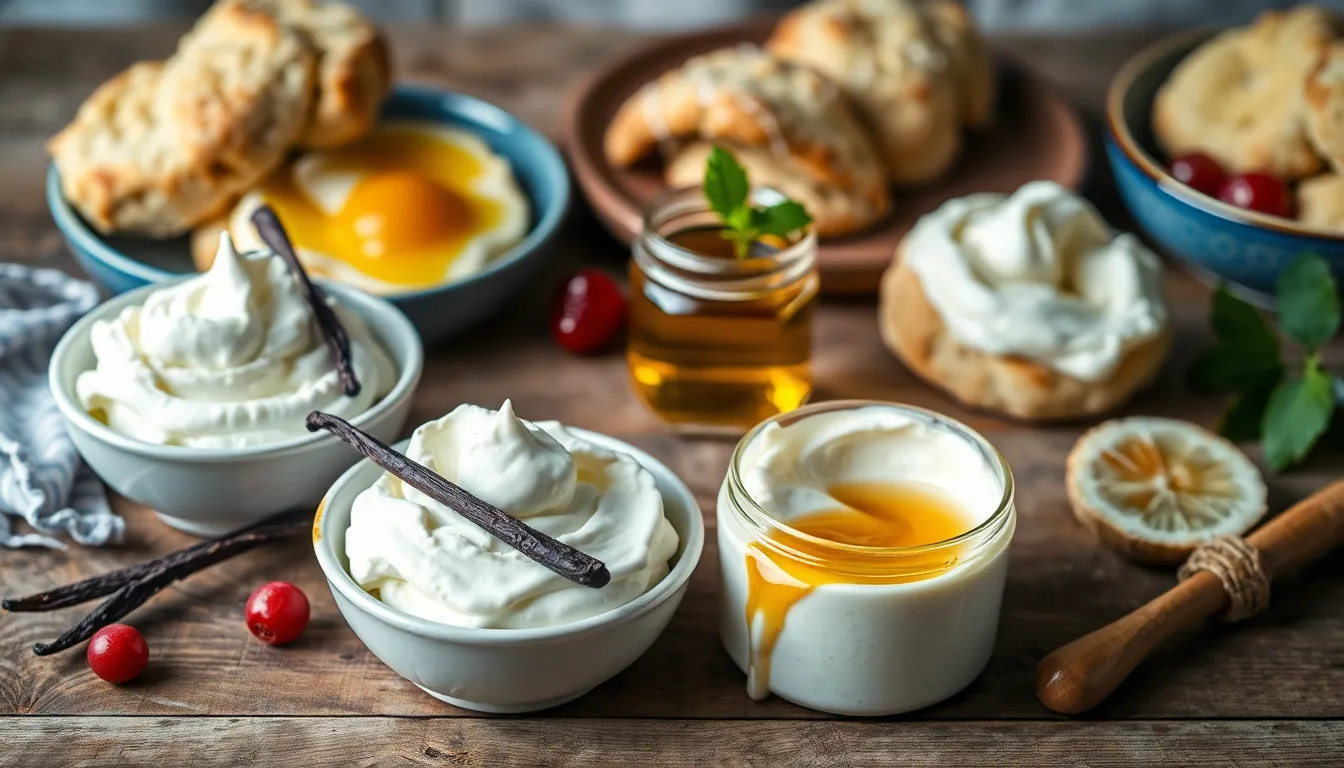
While traditional clotted cream stands beautifully on its own, we can enhance this luxurious spread with subtle flavor additions that complement its natural richness. These variations transform our homemade clotted cream into specialized treats perfect for different occasions and pairings.
Vanilla Clotted Cream
We create vanilla clotted cream by gently folding vanilla extract or vanilla bean seeds into our freshly made batch. Add 1 teaspoon of pure vanilla extract to every 2 cups of clotted cream, stirring carefully to maintain the delicate texture. For a more intense flavor, we recommend scraping the seeds from half a vanilla bean pod and mixing them directly into the cream.
The vanilla infusion adds a delicate floral sweetness that elevates the natural creamy richness without overwhelming it. We find this variation particularly stunning when spread on warm scones or used as a dessert topping for fruit tarts and pastries. The subtle vanilla notes create depth while preserving the signature tangy undertones that make clotted cream so distinctive.
Store vanilla clotted cream in the refrigerator for up to 4 days, allowing the vanilla flavors to meld beautifully with the cream’s natural taste profile.
Honey Infused Version
Our honey infused clotted cream combines the luxurious texture of traditional clotted cream with the natural sweetness and floral aroma of quality honey. We gently fold 2-3 tablespoons of honey into every 2 cups of fresh clotted cream, creating a luxuriously smooth spread with enhanced complexity.
Choose raw or artisanal honey varieties for the most pronounced flavor impact. Wildflower honey adds subtle floral notes, while orange blossom honey brings citrusy undertones that pair beautifully with the cream’s richness. We warm the honey slightly before folding it in to ensure even distribution throughout the cream.
This honey enhanced version pairs exceptionally well with warm breads, fresh fruits, or morning porridge as referenced in traditional cream topped breakfast preparations. The natural sweetness eliminates the need for additional sugar while adding layers of flavor that complement both sweet and savory applications.
Honey infused clotted cream maintains its quality for 4-5 days when properly refrigerated, though we recommend consuming it within 3 days for optimal flavor balance.
Tips for Perfect Results
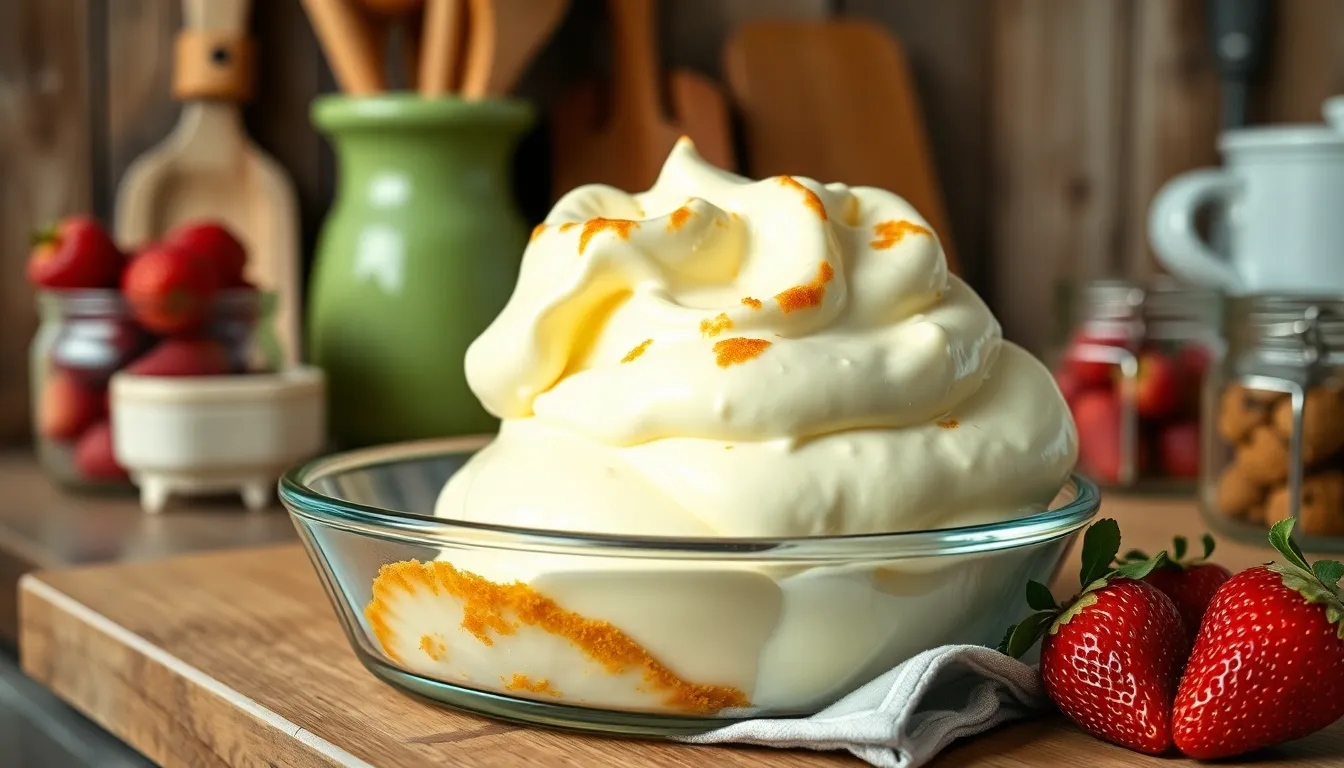
We’ve discovered that achieving perfect clotted cream requires attention to several critical factors that can make the difference between success and disappointment. Temperature control stands as our most important consideration when crafting this traditional treat.
Temperature Control
Maintaining the proper temperature throughout the cooking process ensures our cream develops that signature golden crust without curdling. We keep our oven temperature between 175-195°F (80-90°C) to create the ideal environment for clotting. Never allow the temperature to exceed 212°F (100°C) as boiling will ruin the delicate texture we’re working to achieve.
Cream Selection and Depth
Using high-quality heavy whipping cream forms the foundation of exceptional clotted cream. We avoid ultra-pasteurized varieties since they won’t develop the proper thickness and consistency. Pour your cream to a depth of 1-1½ inches in your baking dish to ensure even heating throughout the mixture.
Timing and Patience
Allow the full 12-hour cooking time for optimal results. We resist the temptation to check on our cream frequently as opening the oven door disrupts the consistent temperature needed for proper clotting. The cream needs this extended gentle heating period to develop its characteristic texture and flavor.
Proper Storage Guidelines
Store your finished clotted cream in the refrigerator at temperatures at or below 40°F (4°C). We recommend consuming homemade clotted cream within 3-4 days for peak freshness and quality. Use clean utensils each time you serve to prevent contamination and extend its shelf life.
| Storage Method | Temperature | Duration |
|---|---|---|
| Homemade Clotted Cream | Below 40°F (4°C) | 3-4 days |
| Commercial (Unopened) | Below 40°F (4°C) | Up to 14 days |
| Room Temperature Serving | 68-72°F (20-22°C) | 2 hours maximum |
Equipment Considerations
Choose a shallow oven-safe dish that distributes heat evenly across the cream surface. We prefer glass or ceramic dishes as they maintain steady temperatures better than metal alternatives. Ensure your dish fits comfortably in your oven with adequate air circulation around all sides.
Conclusion
We’ve covered everything you need to master homemade clotted cream from your own kitchen. Whether you choose the traditional oven method or the convenient slow cooker approach your results will far surpass anything store-bought.
Remember that patience is your greatest asset when making this luxurious treat. The 12-hour cooking process might seem lengthy but it’s what creates that signature golden crust and velvety texture we all crave.
With proper storage techniques and our troubleshooting tips you’ll consistently create restaurant-quality clotted cream that elevates any afternoon tea or breakfast spread. Start with high-quality cream maintain steady temperatures and trust the process.
Your homemade clotted cream will become the star of your next gathering proving that some of life’s greatest pleasures truly are worth the wait.
Frequently Asked Questions
What is clotted cream?
Clotted cream is a thick, rich dairy product originating from southwestern England, particularly Devon and Cornwall. It contains 55-64% butterfat and is made by gently heating unpasteurized cream to develop a golden crust on top. The result is a dense, velvety texture with a slightly tangy flavor and pale yellow, wrinkled surface.
How long does it take to make clotted cream at home?
Making clotted cream requires patience, as the traditional oven method takes 10-12 hours of baking at a low temperature (175-195°F). After baking, the cream needs to cool and refrigerate overnight. A stovetop alternative offers faster results, but the authentic method requires about 24 hours from start to finish.
What type of cream should I use for clotted cream?
Use fresh heavy cream or double cream with high fat content. Avoid ultra-pasteurized cream as it won’t thicken properly due to the pasteurization process. The quality of cream directly impacts the final texture and flavor, so choose the best available heavy cream for optimal results.
How long does homemade clotted cream last?
Homemade clotted cream lasts 3-4 days when stored properly in the refrigerator at or below 40°F (4°C). Always store it in an airtight container and use clean utensils to prevent contamination. Commercial clotted cream can last up to 14 days unopened.
Can I make clotted cream in a slow cooker?
Yes, you can make clotted cream in a slow cooker using the “warm” setting for 10-12 hours. Pour heavy cream into the slow cooker, avoid stirring during cooking, then cool and refrigerate. This method offers convenience and consistent results, though it should be consumed within 2-3 days.
What are the signs that clotted cream has gone bad?
Spoiled clotted cream shows changes in color (yellowing or gray tinge), texture (separation or curdling), and aroma (sour or off smell). If you notice any of these signs, discard the cream immediately. Fresh clotted cream should have a pale yellow color and mild, sweet aroma.
Can I freeze clotted cream?
Freezing clotted cream is not recommended as it significantly alters the texture, causing separation and graininess when thawed. The delicate emulsion breaks down during freezing, resulting in an unappetizing consistency. It’s best to make small batches and consume fresh within the recommended timeframe.
What equipment do I need to make clotted cream?
Essential equipment includes an oven-safe baking dish (preferably shallow glass or ceramic), a thermometer to monitor temperature, and optionally a heavy-bottomed saucepan for stovetop methods. You can also use a slow cooker or Instant Pot for alternative preparation methods.
How do I serve clotted cream?
Clotted cream is best served at room temperature with traditional scones, strawberry jam, and fresh berries for afternoon tea. It also works beautifully as a topping for fruit tarts, pastries, toast, pancakes, and waffles. Allow it to come to room temperature for 15-20 minutes before serving.
Can I add flavors to clotted cream?
Yes, you can create variations by gently folding in vanilla extract, vanilla bean seeds, or honey after the cream has cooled. These additions enhance the natural richness while maintaining the authentic texture. Flavored versions keep for the same duration as plain clotted cream when properly refrigerated.


