Nothing beats the aroma of freshly baked scones wafting through your kitchen on a cozy morning. These beloved British teatime treats have captured hearts worldwide with their tender crumb and buttery flavor that pairs perfectly with jam and clotted cream.
We’ve perfected this foolproof scone recipe that delivers bakery-quality results every single time. Whether you’re hosting an elegant afternoon tea or simply craving a delightful breakfast pastry, these golden beauties will exceed your expectations. The secret lies in keeping your ingredients cold and handling the dough with a gentle touch.
What makes our recipe special? We’ll show you the professional techniques that ensure tall, flaky layers and that coveted crispy exterior. From classic plain scones to exciting flavor variations, you’ll discover how simple ingredients transform into something truly extraordinary. Get ready to impress your family and friends with scones that rival any high-end café.
Ingredients
Our scone recipe relies on carefully selected ingredients that work together to create those signature flaky layers and buttery flavor. We’ve organized these ingredients by type to help you prepare and measure everything before you begin mixing.
Dry Ingredients
- 2 cups all-purpose flour
- 1/3 cup granulated sugar
- 1 tablespoon baking powder
- 1/2 teaspoon salt
- 6 tablespoons cold unsalted butter, cubed
- Cold butter is essential for creating those tender, flaky layers we all love in perfectly baked scones
Wet Ingredients
- 1/2 cup cold heavy cream
- 1 large egg
- 1 teaspoon vanilla extract
- 2 tablespoons cold milk (for brushing tops)
- Additional heavy cream if needed for dough consistency
Optional Add-ins
- 1/2 cup fresh or dried berries (blueberries, cranberries, or currants)
- 1/3 cup mini chocolate chips
- 2 tablespoons fresh herbs (rosemary or thyme for savory versions)
- 1 tablespoon lemon zest
- 1/4 cup chopped nuts (pecans or almonds)
- 2 tablespoons jam or preserves (swirled into dough)
Equipment Needed
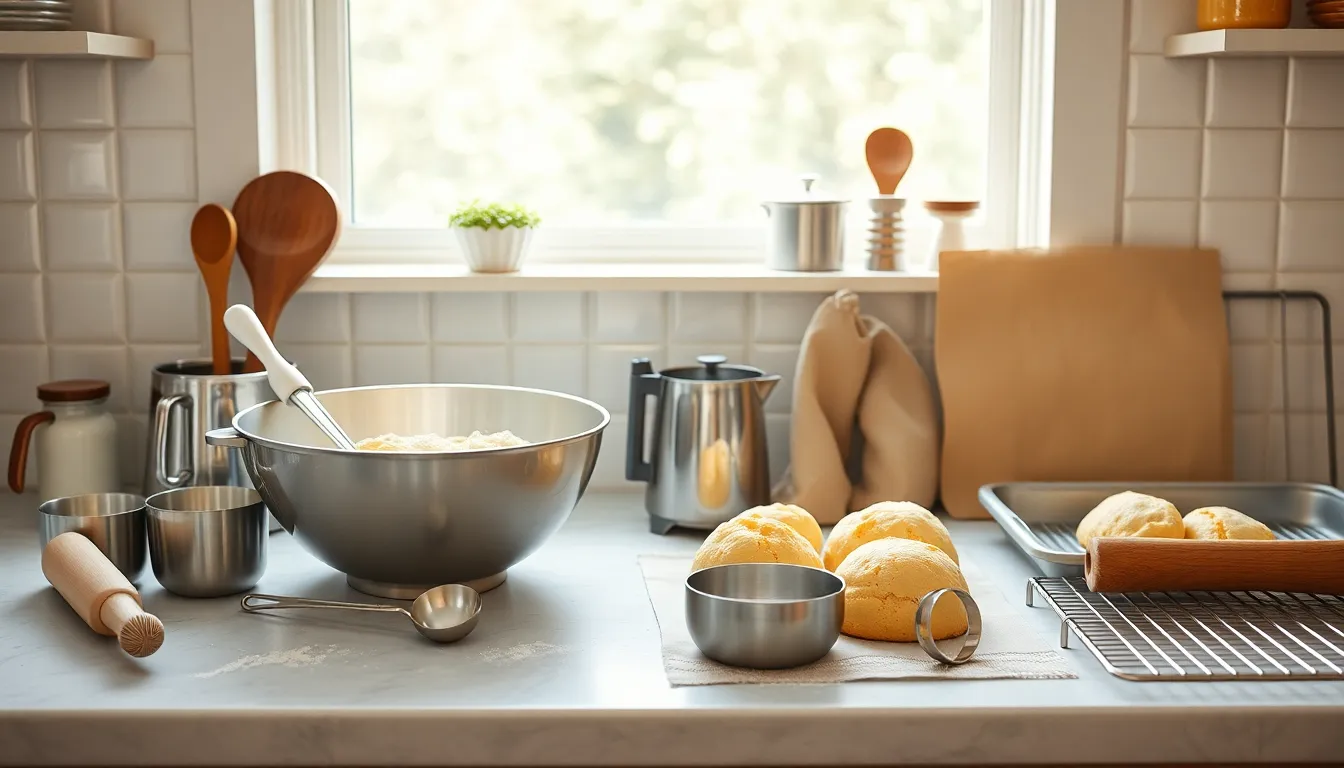
Having the right tools makes all the difference when creating perfect scones with tall, flaky layers. We recommend gathering these essential items before starting your baking process to ensure smooth preparation from start to finish.
Large mixing bowl serves as our primary workspace for combining dry ingredients and incorporating the cold butter pieces. Various measuring cups and spoons ensure precise ingredient ratios, which are crucial for achieving the proper dough consistency and texture.
A mixing spoon helps us gently combine wet and dry ingredients without overworking the dough. Rolling pin allows us to shape the dough evenly to the correct thickness for uniform baking results.
Round pastry cutter (about 6 cm) creates perfectly shaped scones with clean edges that rise beautifully in the oven. A sharp cutter prevents sealing the edges, which could inhibit the scones from rising properly.
Baking tray provides the surface for baking our scones, while a cooling rack ensures proper air circulation around the finished scones to maintain their crispy exterior. Finally, a reliable oven preheated to the correct temperature delivers the consistent heat needed for golden brown tops and fully cooked centers.
Each piece of equipment plays a exact role in achieving bakery quality results. Professional bakers rely on these same basic tools to create consistently excellent scones with the perfect balance of tender crumb and flaky layers.
Instructions

Now that we have our ingredients measured and equipment ready, let’s walk through the step-by-step process to create these bakery-quality scones. Each stage builds upon the previous one to ensure we achieve that perfect tender crumb and flaky texture.
Prep the Dry Ingredients
We begin by combining our dry ingredients in a large mixing bowl. Mix together 2 ½ cups of all-purpose flour, ¼ teaspoon of salt, 3 ½ teaspoons of baking powder, and 3 tablespoons of granulated sugar until evenly distributed.
Next we incorporate 6 tablespoons of cold, cubed unsalted butter into our flour mixture. Use a pastry cutter or work the butter in with your fingertips until the mixture resembles fine crumbs. The cold butter creates those coveted flaky layers we’re after.
Mix Wet Ingredients
We start by gently warming ¾ cup of milk until it reaches a comfortable temperature. Heat the milk on the stove or in the microwave but avoid making it hot.
Stir in 1 teaspoon of lemon juice and 1 teaspoon of vanilla extract into the warmed milk. This flavored milk mixture will bring our dough together while adding subtle depth to the final scones.
Combine and Form Dough
We pour the milk mixture directly into our prepared dry ingredients. Mix quickly with a fork until a shaggy dough forms, being careful not to overmix at this stage.
Transfer the dough onto a lightly floured surface and sprinkle additional flour on top. Fold the dough over itself a few times until it becomes smooth, working gently to avoid developing too much gluten.
Pat the dough into a round disc that measures approximately 1.5 inches in height. This thickness ensures our scones will rise properly during baking.
Shape and Cut Scones
We use a 2-inch round biscuit cutter to cut straight down through the dough without twisting. Press the scraps together gently and cut additional scones, yielding 6–8 total pieces.
Place each cut scone on our prepared baking tray, leaving space between them for even heat circulation. The clean cuts help promote proper rising during the baking process.
Bake the Scones
We preheat our oven to 400°F (200°C) and position a silicone baking mat on our baking tray. This temperature creates the ideal environment for golden tops and tender interiors.
Brush the tops of each scone with beaten egg to achieve that beautiful golden finish. This egg wash creates an appealing bakery-style appearance.
Bake the scones for 10–15 minutes until the tops turn golden brown. The finished scones should sound hollow when gently tapped on the bottom, indicating they’re perfectly baked through.
Directions for Perfect Scones
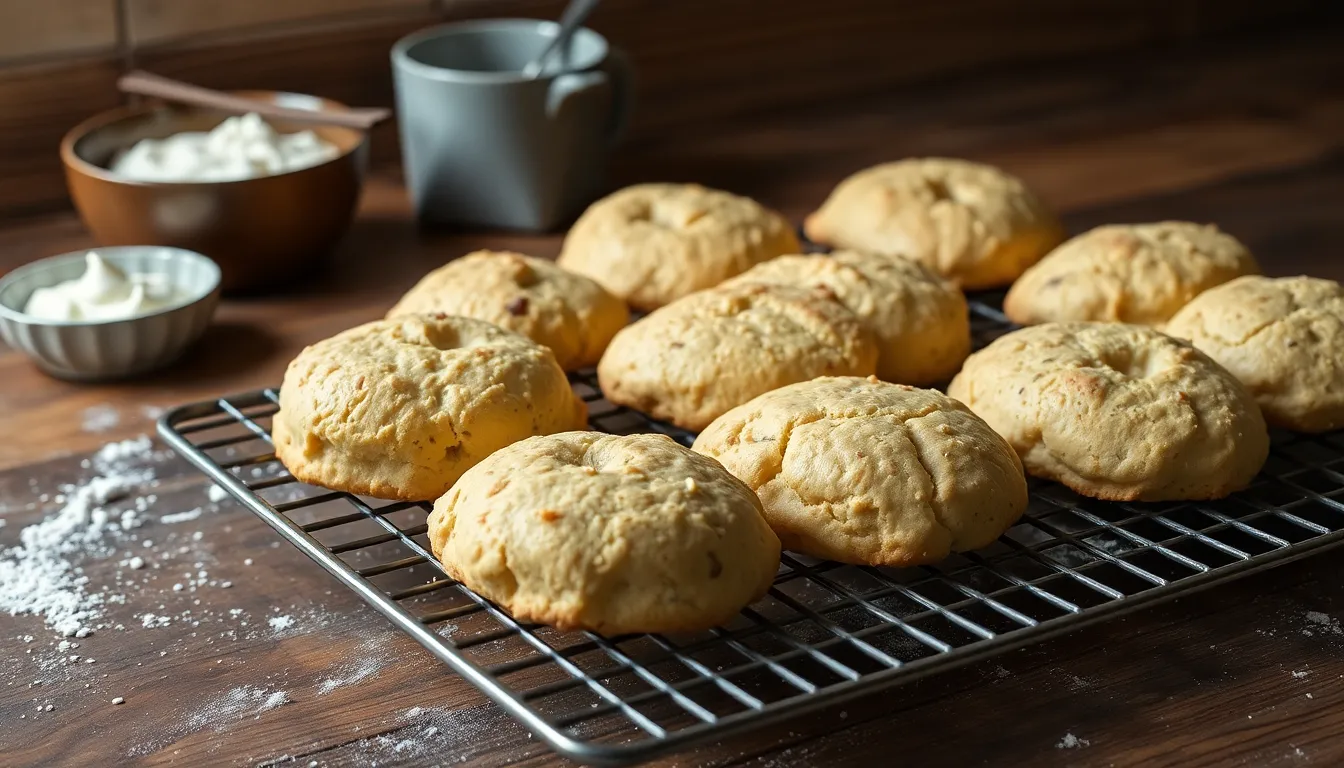
We’ve crafted these detailed directions to ensure your scones turn out perfectly every time. Following these precise temperature and timing guidelines will help you achieve professional bakery results.
Temperature Tips
We recommend preheating your oven to 400°F (204°C) for optimal baking conditions. This temperature creates the perfect balance between cooking the interior thoroughly and achieving a golden exterior.
Cold ingredients play a crucial role in scone success. We always chill our shaped scones in the freezer for 5-10 minutes before baking. This chilling step helps maintain their shape during baking and creates those coveted flaky layers.
| Temperature Element | Recommendation |
|---|---|
| Oven Temperature | 400°F (204°C) |
| Freezer Chill Time | 5-10 minutes |
| Butter Temperature | Cold (cubed or grated) |
Texture Guidelines
We focus on achieving pea-sized crumbs when cutting butter into the flour mixture. Using a pastry cutter or fork creates this ideal texture that ensures tender, flaky scones.
Avoiding overworking the dough remains essential for light, airy results. We mix ingredients until just combined, accepting that a slightly crumbly texture is perfectly normal. Dense scones typically result from excessive mixing or kneading.
Our professional tip involves using frozen butter for superior texture. Grating frozen butter directly into the flour mixture distributes fat more evenly throughout the dough.
Baking Time and Doneness
We bake our scones for 18-22 minutes until they achieve a light golden brown color. The exact timing depends on your oven and the size of your scones.
Checking for proper doneness involves multiple indicators. We look for lightly browned tops that feel firm to the touch. Tapping the bottom of a scone should produce a hollow sound when fully baked.
Brushing scone tops with heavy whipping cream before baking creates an attractive golden finish and adds richness to the final product.
Make-Ahead Instructions
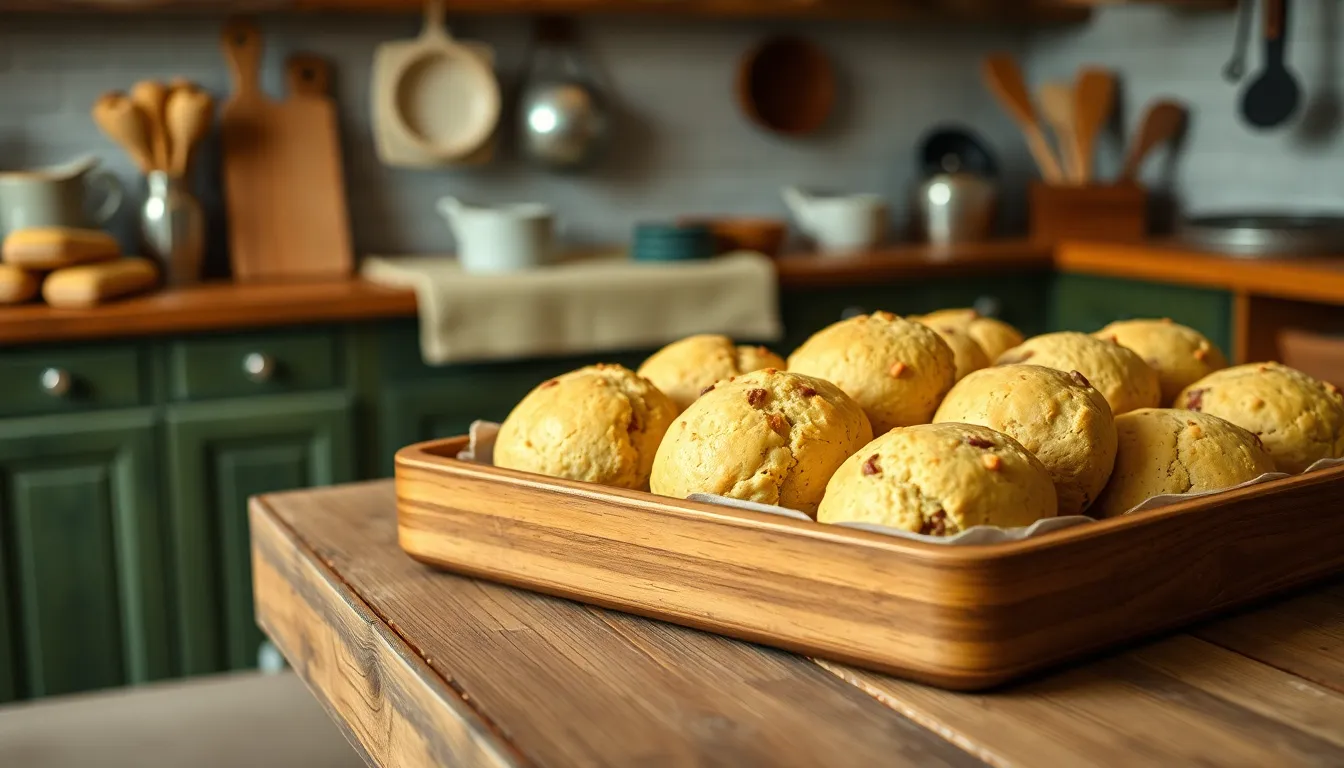
We can prepare these scones in advance using several proven methods that maintain their quality and freshness. Our make-ahead techniques allow you to enjoy fresh-baked scones with minimal morning effort.
Freezing Unbaked Scones
We recommend placing shaped unbaked scones on a parchment-lined baking sheet and covering them with plastic wrap for refrigeration overnight. Our scones can bake directly from the refrigerator using the standard temperature and timing.
For longer storage we place the scones on a baking sheet and cover with plastic wrap before freezing for 3-4 hours. Once frozen solid we transfer the scones to a freezer bag for extended storage. To bake frozen scones we thaw them at room temperature for 30 minutes then bake at 375°F for approximately 20 minutes.
Storage Tips
Our frozen unbaked scones maintain their quality when stored in freezer bags after the initial freezing process. We bake these frozen scones by allowing them to thaw slightly before following our standard baking instructions.
For baked scones we store them in an airtight container at room temperature for up to 2 days. Longer storage requires freezing the fully baked scones which preserves their texture and flavor for future enjoyment.
| Storage Method | Duration | Temperature |
|---|---|---|
| Refrigerated unbaked scones | Overnight | Standard baking temp |
| Frozen unbaked scones | Long-term storage | 375°F for 20 minutes |
| Room temperature baked scones | Up to 2 days | Room temperature |
| Frozen baked scones | Extended storage | Thaw before serving |
Serving Suggestions
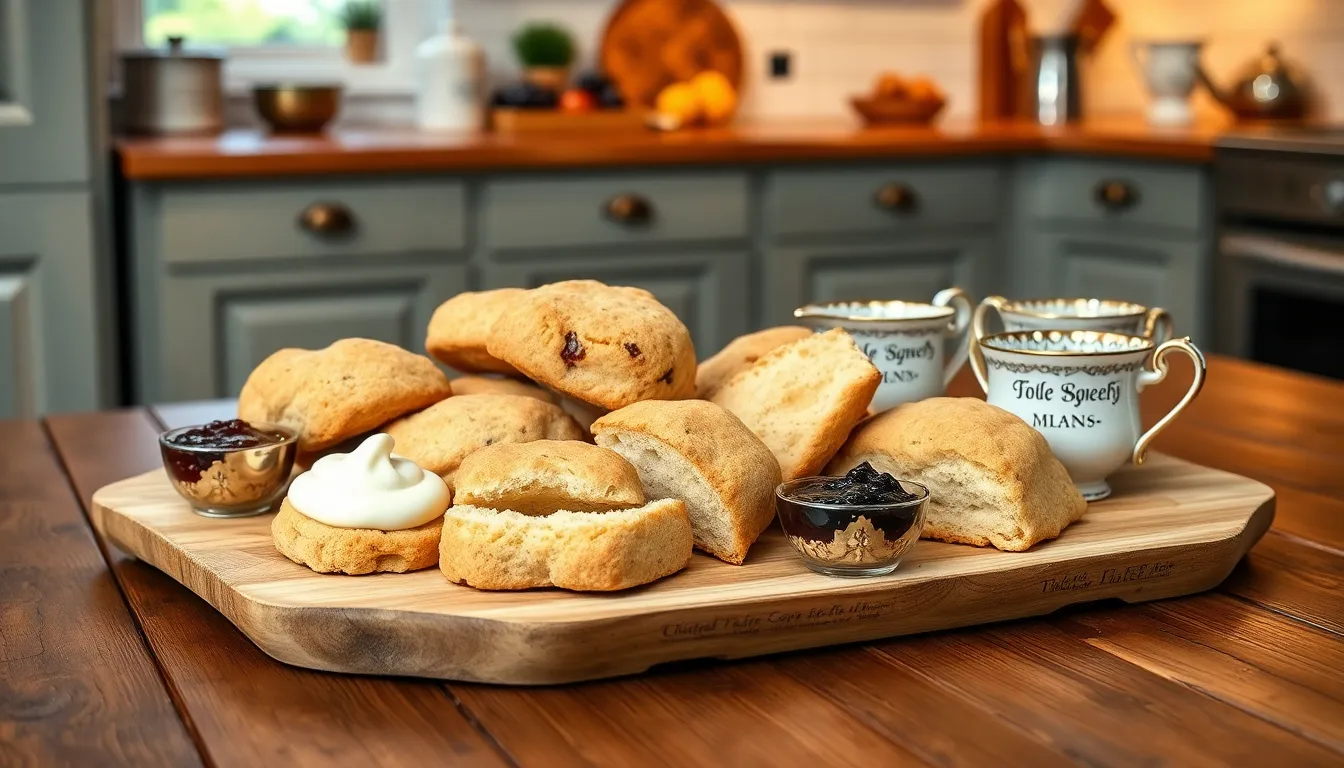
We believe the perfect scone deserves equally perfect accompaniments to create an unforgettable experience. Our serving suggestions range from time-honored British traditions to contemporary twists that showcase these delightful treats.
Traditional Accompaniments
Clotted cream and jam remain the gold standard for scone service, creating the classic English afternoon tea experience we all cherish. We recommend spreading a generous layer of clotted cream first, followed by your favorite jam—strawberry preserves work beautifully with the buttery scone base.
Tea pairings elevate the entire experience to new heights. Earl Grey offers bergamot notes that complement the rich butter flavors, while English Breakfast provides a robust backdrop that balances the scone’s sweetness. Herbal teas like chamomile or lavender create a more delicate pairing that highlights the scone’s tender crumb.
The proper serving temperature matters significantly for traditional accompaniments. We serve our scones slightly warm, allowing the clotted cream to soften gently without melting completely. Room temperature jam spreads more easily and releases its full flavor profile when paired with the warm scone.
Modern Variations
Savory options transform scones into sophisticated appetizers or light meal components. We incorporate fresh herbs like rosemary or thyme into the dough, then serve alongside aged cheddar and chive spreads for an unexpected flavor combination. These herb-infused scones pair wonderfully with cream cheese mixed with fresh dill or sun-dried tomatoes.
Sweet variations open endless possibilities for creative presentations. Chocolate chip scones shine when served with fresh whipped cream and seasonal berries, while orange zest versions pair beautifully with mascarpone and honey. We often substitute dried cranberries for traditional raisins, creating a tart contrast that works especially well with lemon curd.
Contemporary presentation styles include scone sandwiches filled with fresh fruits and cream, or broken scones layered in glass bowls with yogurt and berries for an elegant parfait effect. These modern approaches maintain the scone’s integrity while creating visually stunning desserts perfect for brunch gatherings or special occasions.
Troubleshooting Common Issues
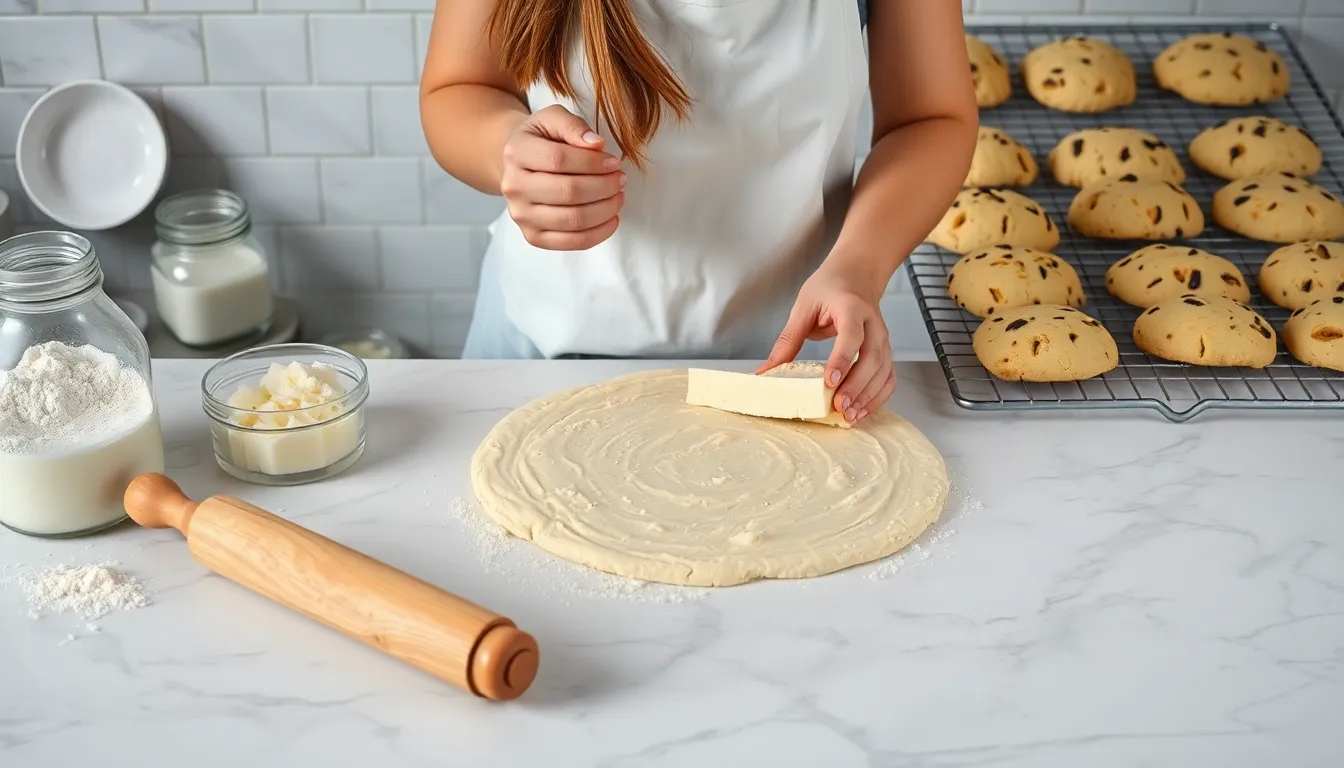
Even experienced bakers encounter challenges when making scones. We’ll help you identify and solve the most common problems to ensure your scones turn out perfectly every time.
Dense or Heavy Scones
Overworking the dough creates the primary culprit behind dense scones. We recommend mixing ingredients just until they barely come together to avoid developing excess gluten. Cold ingredients play a crucial role in maintaining the proper texture throughout the mixing process.
Handle the dough minimally once you combine wet and dry ingredients. Our technique involves using a light folding motion rather than aggressive stirring or kneading. The mixture should look slightly shaggy when properly combined.
Temperature control prevents butter from melting prematurely during preparation. We suggest keeping all ingredients refrigerated until ready to use. Grated frozen butter incorporates more easily while maintaining the cold temperature essential for flaky layers.
Dry Scones
Insufficient liquid content or excessive baking time leads to disappointing dry scones. We monitor the dough consistency carefully and add extra buttermilk one tablespoon at a time if needed. The dough should hold together without crumbling excessively.
Overbaking quickly transforms tender scones into dry disappointments. We check for doneness at the minimum baking time and look for light golden tops as our primary indicator. The bottoms should sound hollow when tapped gently.
Proper storage maintains moisture after baking. We recommend wrapping cooled scones in a clean kitchen towel or storing them in an airtight container within two hours of baking. Reheating dried scones with a light brush of cream can restore some moisture.
Uneven Baking
Incorrect oven temperature creates inconsistent results throughout your batch. We verify our oven accuracy with a separate thermometer since many ovens run hot or cold. Proper calibration ensures reliable baking temperatures.
Adequate spacing on the baking sheet allows proper air circulation around each scone. We place scones at least two inches apart to prevent overcrowding. Using light colored baking sheets promotes even browning compared to dark pans that absorb more heat.
Oven rack positioning affects how evenly scones bake from top to bottom. We position our baking sheet in the center of the oven for optimal heat distribution. Rotating the pan halfway through baking compensates for any hot spots in your particular oven.
Recipe Variations

Our basic scone recipe serves as the perfect foundation for countless creative adaptations. We can transform this simple base into both sweet and savory masterpieces that cater to any taste preference or occasion.
Sweet Scone Options
Blueberry Lemon Scones deliver a burst of fresh flavor by folding 3/4 cup fresh blueberries and 2 teaspoons lemon zest into our basic dough. The bright citrus notes complement the sweet berries perfectly while maintaining the tender crumb texture we love.
Pumpkin Maple Scones bring seasonal warmth to our table with 1/2 cup mashed pumpkin and 2 tablespoons maple syrup replacing part of the cream. We dust these golden beauties with cinnamon sugar before baking for an extra layer of autumnal flavor.
Strawberries and Cream Scones showcase peak summer produce by incorporating 3/4 cup diced fresh strawberries into the dough. We serve these delicate scones warm with a dollop of fresh whipped cream and a drizzle of strawberry preserves.
Bakewell Tart Scones capture the essence of the classic English dessert through 1/2 teaspoon almond extract and 1/3 cup raspberry jam swirled throughout. These elegant scones pair beautifully with afternoon tea and satisfy our craving for something distinctly British.
Savory Scone Ideas
Cheese and Bacon Scones transform our breakfast table with 3/4 cup sharp cheddar cheese and 1/2 cup crispy bacon bits folded into the basic recipe. We reduce the sugar to 1 tablespoon and add a pinch of black pepper for the perfect balance of flavors.
Chorizo & Manchego Scones bring Spanish flair to our kitchen with 1/2 cup diced chorizo and 3/4 cup grated Manchego cheese. The smoky sausage and nutty cheese create an irresistible combination that works equally well for brunch or dinner.
Savory Pinwheels offer an elegant presentation by rolling our basic dough into a rectangle and spreading with 3 tablespoons fruit chutney before sprinkling with caramelized onions and goat cheese. We roll the dough tightly and slice into individual portions for stunning spiral patterns.
Seedy Scones with Smoked Salmon elevate our entertaining game through a mixture of sesame seeds and poppy seeds pressed into the dough surface. We serve these sophisticated scones topped with cream cheese and delicate slices of smoked salmon for an impressive appetizer spread.
Storage and Reheating

Proper storage extends the life of our freshly baked scones while maintaining their delightful texture and flavor. We’ve compiled comprehensive guidelines to help you preserve these treats at their peak quality.
Room Temperature Storage
Fresh scones maintain optimal texture when stored in an airtight container at room temperature. We recommend consuming them within 2 days for the best eating experience. Place scones in a sealed container away from direct sunlight and heat sources to prevent staleness.
Refrigeration Guidelines
Extended storage becomes possible when we refrigerate our baked scones in airtight containers. This method preserves freshness for up to one week while maintaining their characteristic crumb structure. Raw scone dough also benefits from refrigeration when shaped into disks and wrapped securely or pre-cut into wedges for convenient later baking.
Freezer Storage Options
| Storage Method | Duration | Temperature | Preparation Notes |
|---|---|---|---|
| Unbaked Dough | Up to 3 months | 0°F (-18°C) | Shape wedges, freeze 1 hour on plate |
| Baked Scones | Up to 3 months | 0°F (-18°C) | Cool completely before sealing |
Freezing unbaked dough provides ultimate convenience for fresh scones on demand. We shape the dough into wedges and place them on a plate or baking sheet for one hour of initial freezing. Once solid, transfer pieces to freezer-safe bags or containers for long-term storage.
Baked scones freeze equally well when cooled completely before sealing in airtight containers. This method preserves their texture for up to three months while maintaining flavor integrity.
Reheating Methods
Warming scones properly restores their appealing texture and enhances their buttery aroma. We prefer oven reheating for superior results.
Oven Method: Preheat your oven to 300°F (149°C) and place scones on a baking sheet. Warm for approximately 10 minutes until heated through. This gentle method ensures even warming without drying out the crumb.
Microwave Option: Quick reheating becomes possible with 30-second intervals in the microwave. This method works best for immediate consumption though results may vary in texture consistency.
Professional Storage Tips
Unbaked dough requires different handling than finished scones. We recommend refrigerating shaped dough when baking within several days or utilizing freezer storage for longer periods. Always cool baked scones completely before freezing to prevent condensation and ice crystal formation.
Frozen unbaked scones bake directly from their frozen state with just a few additional minutes added to the standard baking time. Thaw frozen baked scones at room temperature or overnight in the refrigerator for optimal texture restoration.
Conclusion
We’ve equipped you with everything needed to create exceptional scones that’ll impress family and friends alike. From mastering the essential cold-ingredient technique to exploring creative flavor variations our comprehensive guide ensures your baking success.
The beauty of this scone recipe lies in its versatility and reliability. Whether you’re preparing for afternoon tea or experimenting with savory combinations you now have the confidence to achieve bakery-quality results every time.
Remember that practice makes perfect and don’t be afraid to experiment with our suggested variations. With proper storage techniques and reheating methods you can enjoy fresh-tasting scones whenever the craving strikes.
Start your scone-making journey today and discover why this beloved British treat has captured hearts worldwide. Your kitchen will soon be filled with the irresistible aroma of homemade perfection.
Frequently Asked Questions
What makes scones different from other baked goods?
Scones are distinguished by their tender, flaky texture and buttery flavor. Unlike muffins or biscuits, scones require cold ingredients and gentle handling to create distinct layers. The key is incorporating cold butter into flour to form pea-sized crumbs, which creates the characteristic flaky texture when baked.
How long do homemade scones stay fresh?
Fresh scones stay best when stored in an airtight container at room temperature for up to 2 days. For longer storage, refrigerate for up to one week or freeze baked scones for up to 3 months. Unbaked scone dough can also be frozen for up to 3 months and baked directly from frozen.
Can I make scone dough ahead of time?
Yes, you can prepare scone dough in advance. Shape the scones and place them on a parchment-lined baking sheet. Cover with plastic wrap and refrigerate overnight, or freeze for longer storage. Chill shaped scones in the freezer for 5-10 minutes before baking for better results.
Why are my scones dense and heavy?
Dense scones typically result from overworking the dough or using warm ingredients. Keep butter and cream cold, mix ingredients until just combined, and avoid kneading. The dough should look shaggy, not smooth. Overworking develops gluten, which creates a tough texture instead of light, flaky layers.
What’s the best way to reheat scones?
The oven method works best for reheating scones. Preheat to 350°F (175°C) and warm scones for 5-8 minutes to restore their texture. For quicker reheating, use the microwave for 20-30 seconds, though this may make them slightly softer than the original texture.
Can I freeze unbaked scones?
Absolutely! Place shaped unbaked scones on a parchment-lined baking sheet and freeze until solid. Transfer to freezer bags for up to 3 months. Bake directly from frozen, adding 2-3 extra minutes to the baking time. No need to thaw before baking.
What temperature should I bake scones?
Bake scones at 400°F (204°C) for 18-22 minutes. The high temperature creates steam quickly, helping achieve the flaky layers. Scones are done when lightly golden brown on top and sound hollow when tapped on the bottom. Avoid opening the oven door frequently during baking.
How do I know when scones are properly done?
Properly baked scones have lightly browned tops and sound hollow when tapped on the bottom. They should feel firm but not hard. The internal temperature should reach about 190°F (88°C). If they’re golden brown but still feel soft underneath, bake for an additional 2-3 minutes.


